Please let ali.owayid@humber.ca know the station identifier (e.g. J209A-N-011) and the problem such that he can submit a service request, if the same problem persists - ask for a ticket number and let me know what it is.
It was created by doing something similar to:
- Create an account on GitHub.
- Select a Username for yourself at GitHub (your n# is your single sign on log in, I suggest your choose something more appropriate for a public representation of your online presence).
- Enter an email address.
- Choose a new, unique password for GitHub and record it.
- Read the Terms of Service.
- Read the Privacy Policy.
- Decide whether you would like to agree or whether you would like to ask for alternate arrangements.
- Click on create an account or ask for an alternate arrangement.
- If you created an account, and are comfortable with public choose Free plan (no private repositories).
- Regarding programming experience, usage plans, and descriptions, note that you have the option to skip this step.
- Start a project.
- Verify your email address.
- Choose a name for your individual project e.g. SensorEffector.
- Create a new repository with the chosen project/repository name.
- The Description is the name of your project and the Website is Username.github.io/SensorEffector.
- Select Initialize this repository with a README.
- Add .gitignore for C.
- Add a license: GNU Affero General Public License v3.0.
- Create repository.
- Go to the repository's settings and choose to build your GitHub Pages site from the master branch to publish Username.github.io/SensorEffector it will take at least a few minutes for the site to become live then add it as your repository website.on GitHub.com accounts and blogs - feel free to use index.md. Feel free to review Learning Markdown on Lynda.com.
Please print out (and staple) from Blackboard the Learning Materials > LABs > MASTER SIGNOFF SHEET.pdf, read it and sign it.
Please print out (and staple) from Blackboard the Learning Materials > LABs > Lab 1-Cable punch down.pdf
-
Visit lynda.com website
-
Click 'Sign In' button
-
Click Organization Login tab (NOT Individual Login)
-
Enter 'www.humber.ca' under organization's URL
-
Click 'Go' and you will be redirected to login.humber.ca
-
Enter your Humber username and password and click 'LOGIN' button
-
You will be redirected back to Lynda.com with full course access to create your own user name.
-
Feel free to register via Toronto Public Library instead such that your access is not cut off when you graduate.
| Lab # | Lab Name | Student Initials | Date | Professor Initials | Date |
|---|---|---|---|---|---|
| 1 | Punch-downs and Binder cables | ----- | - | - | - |
| 2 | Serial RS-232 Communication | ----- | - | - | - |
| 3 | Cables and Jacks | ----- | - | - | - |
| 4 | Horizontal Cabling | ----- | - | - | - |
| 5 | Ethernet Configuration on PC | ----- | - | - | - |
| 7 | LAN Traffic Capture | ----- | - | - | - |
| 8 | DHCP Capture | ----- | - | - | - |
| 9 | Layer 1 Troubleshooting | ----- | - | - | - |
| 10 | Internet Protocol | ----- | - | - | - |
| 11 | TCP Capture | ----- | - | - | - |
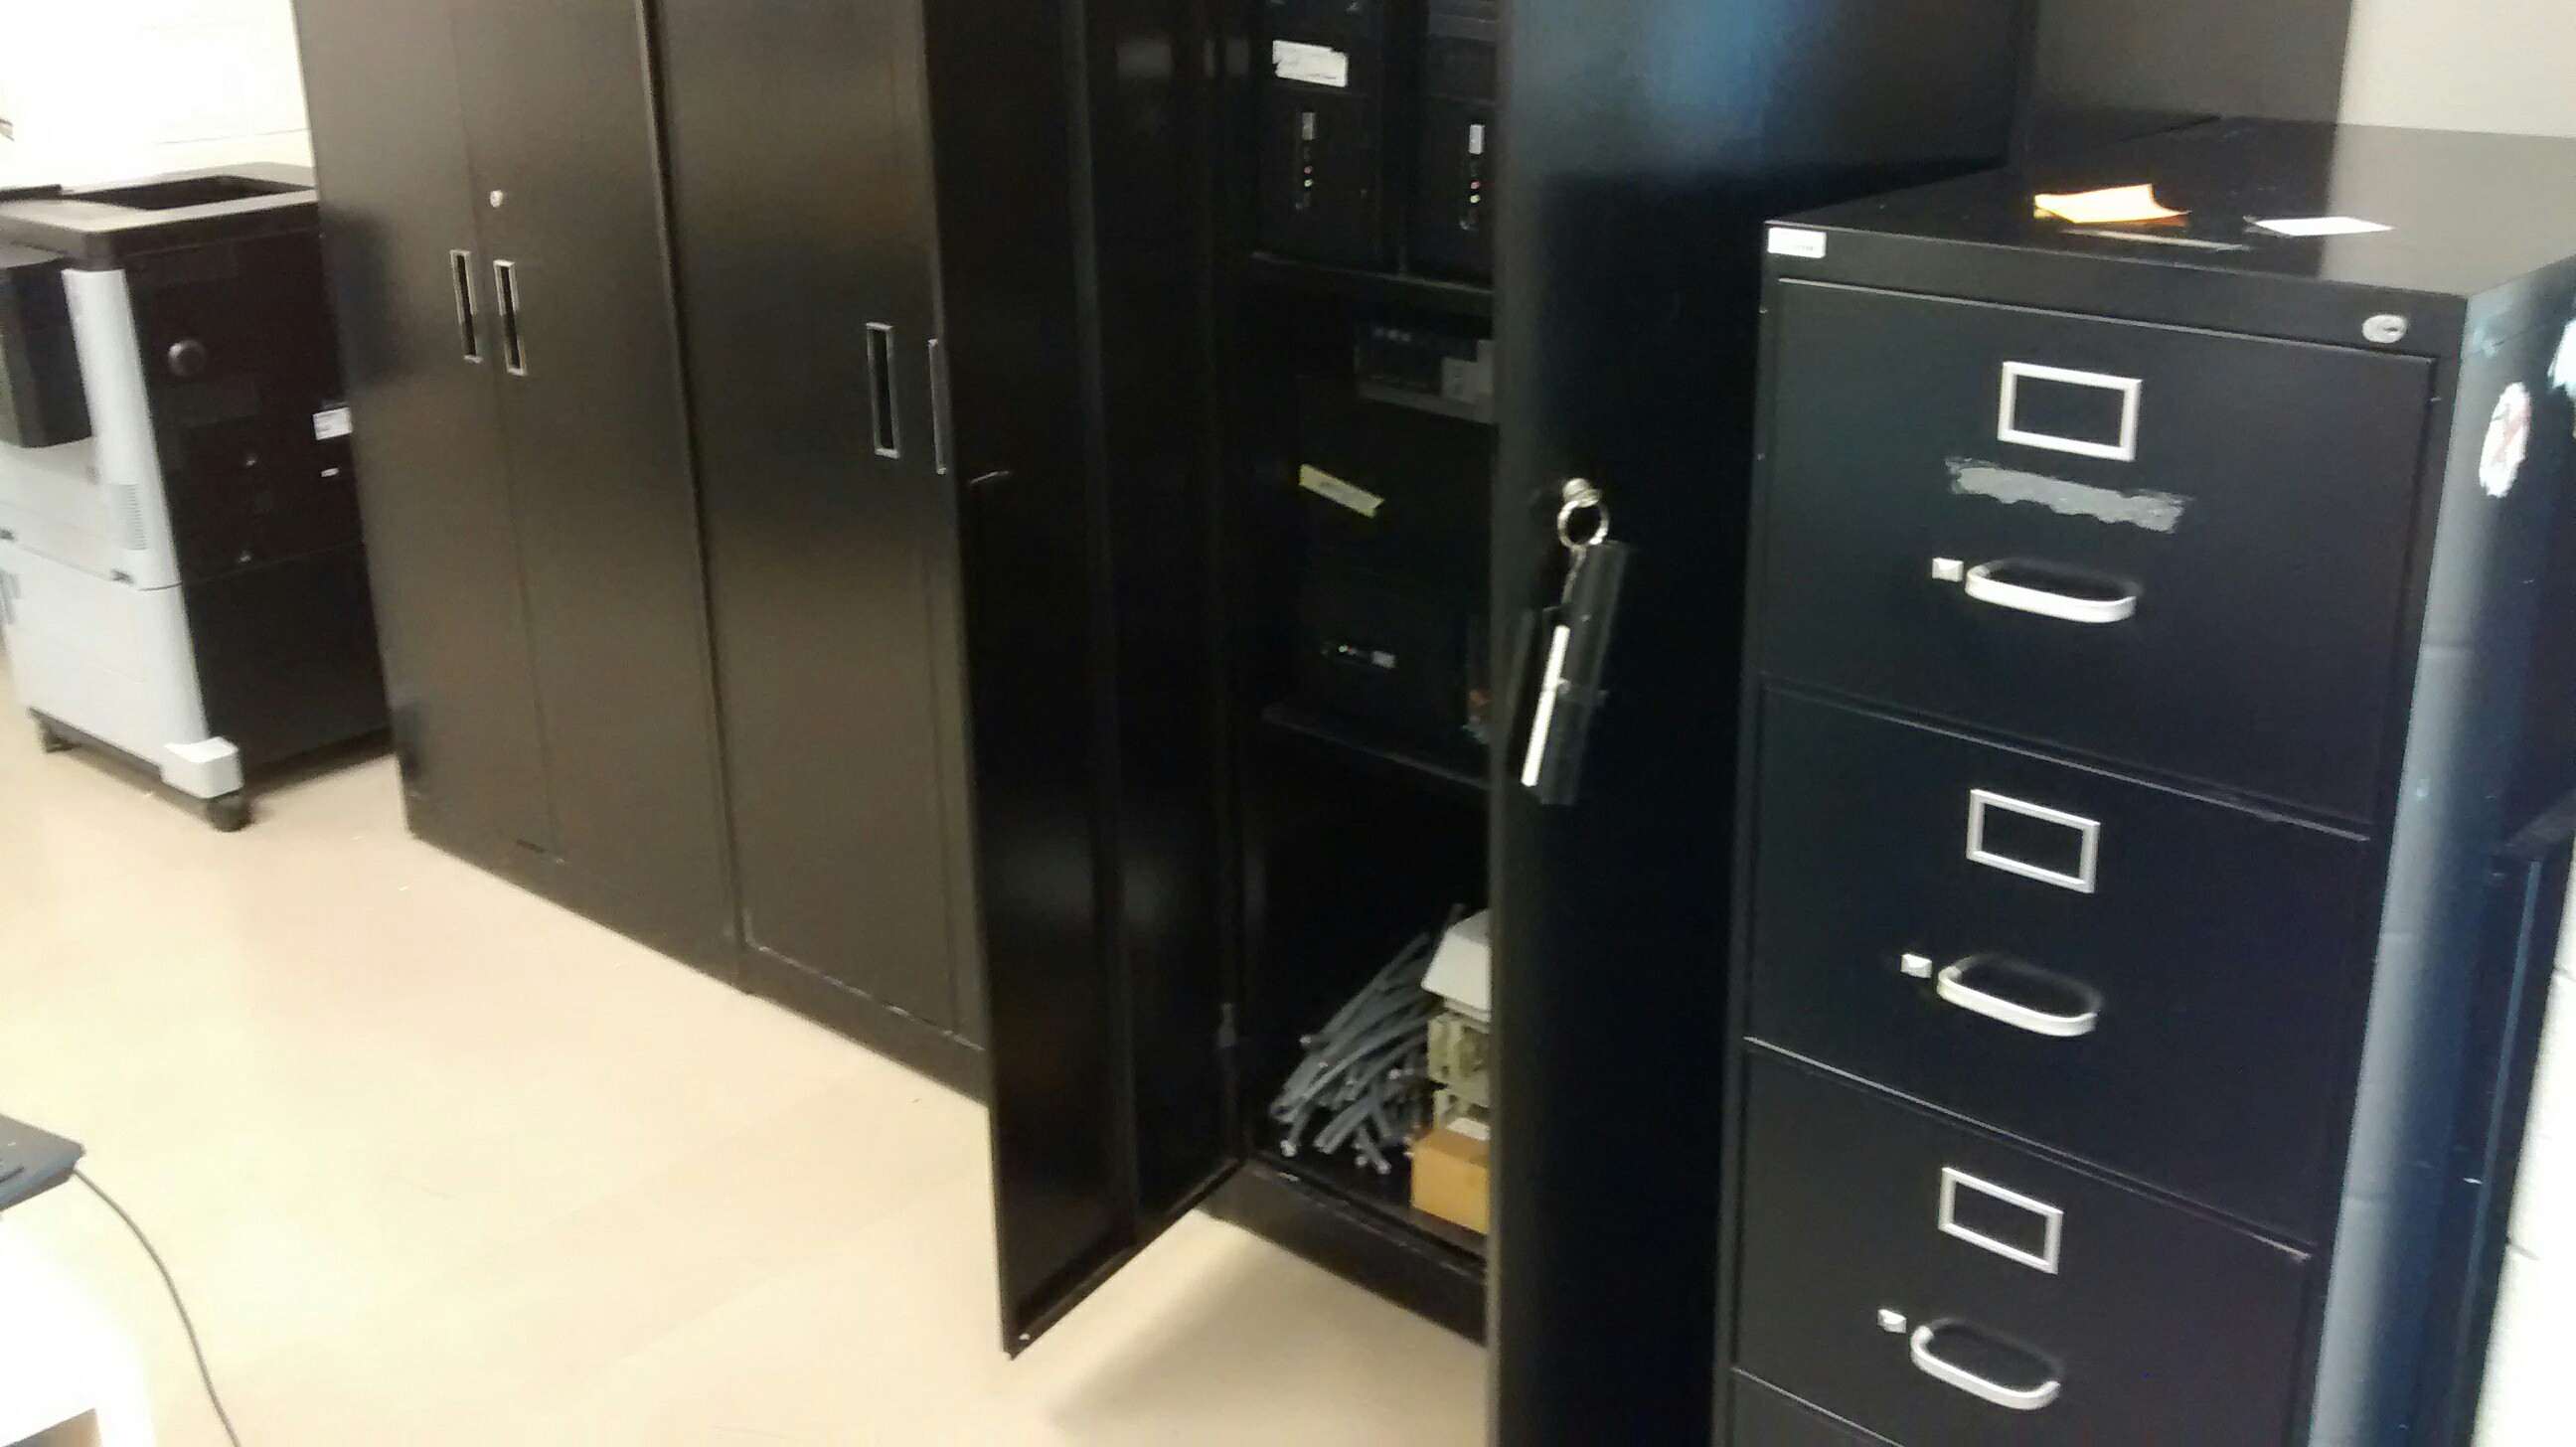
The professor will sign out out the key (from J215):
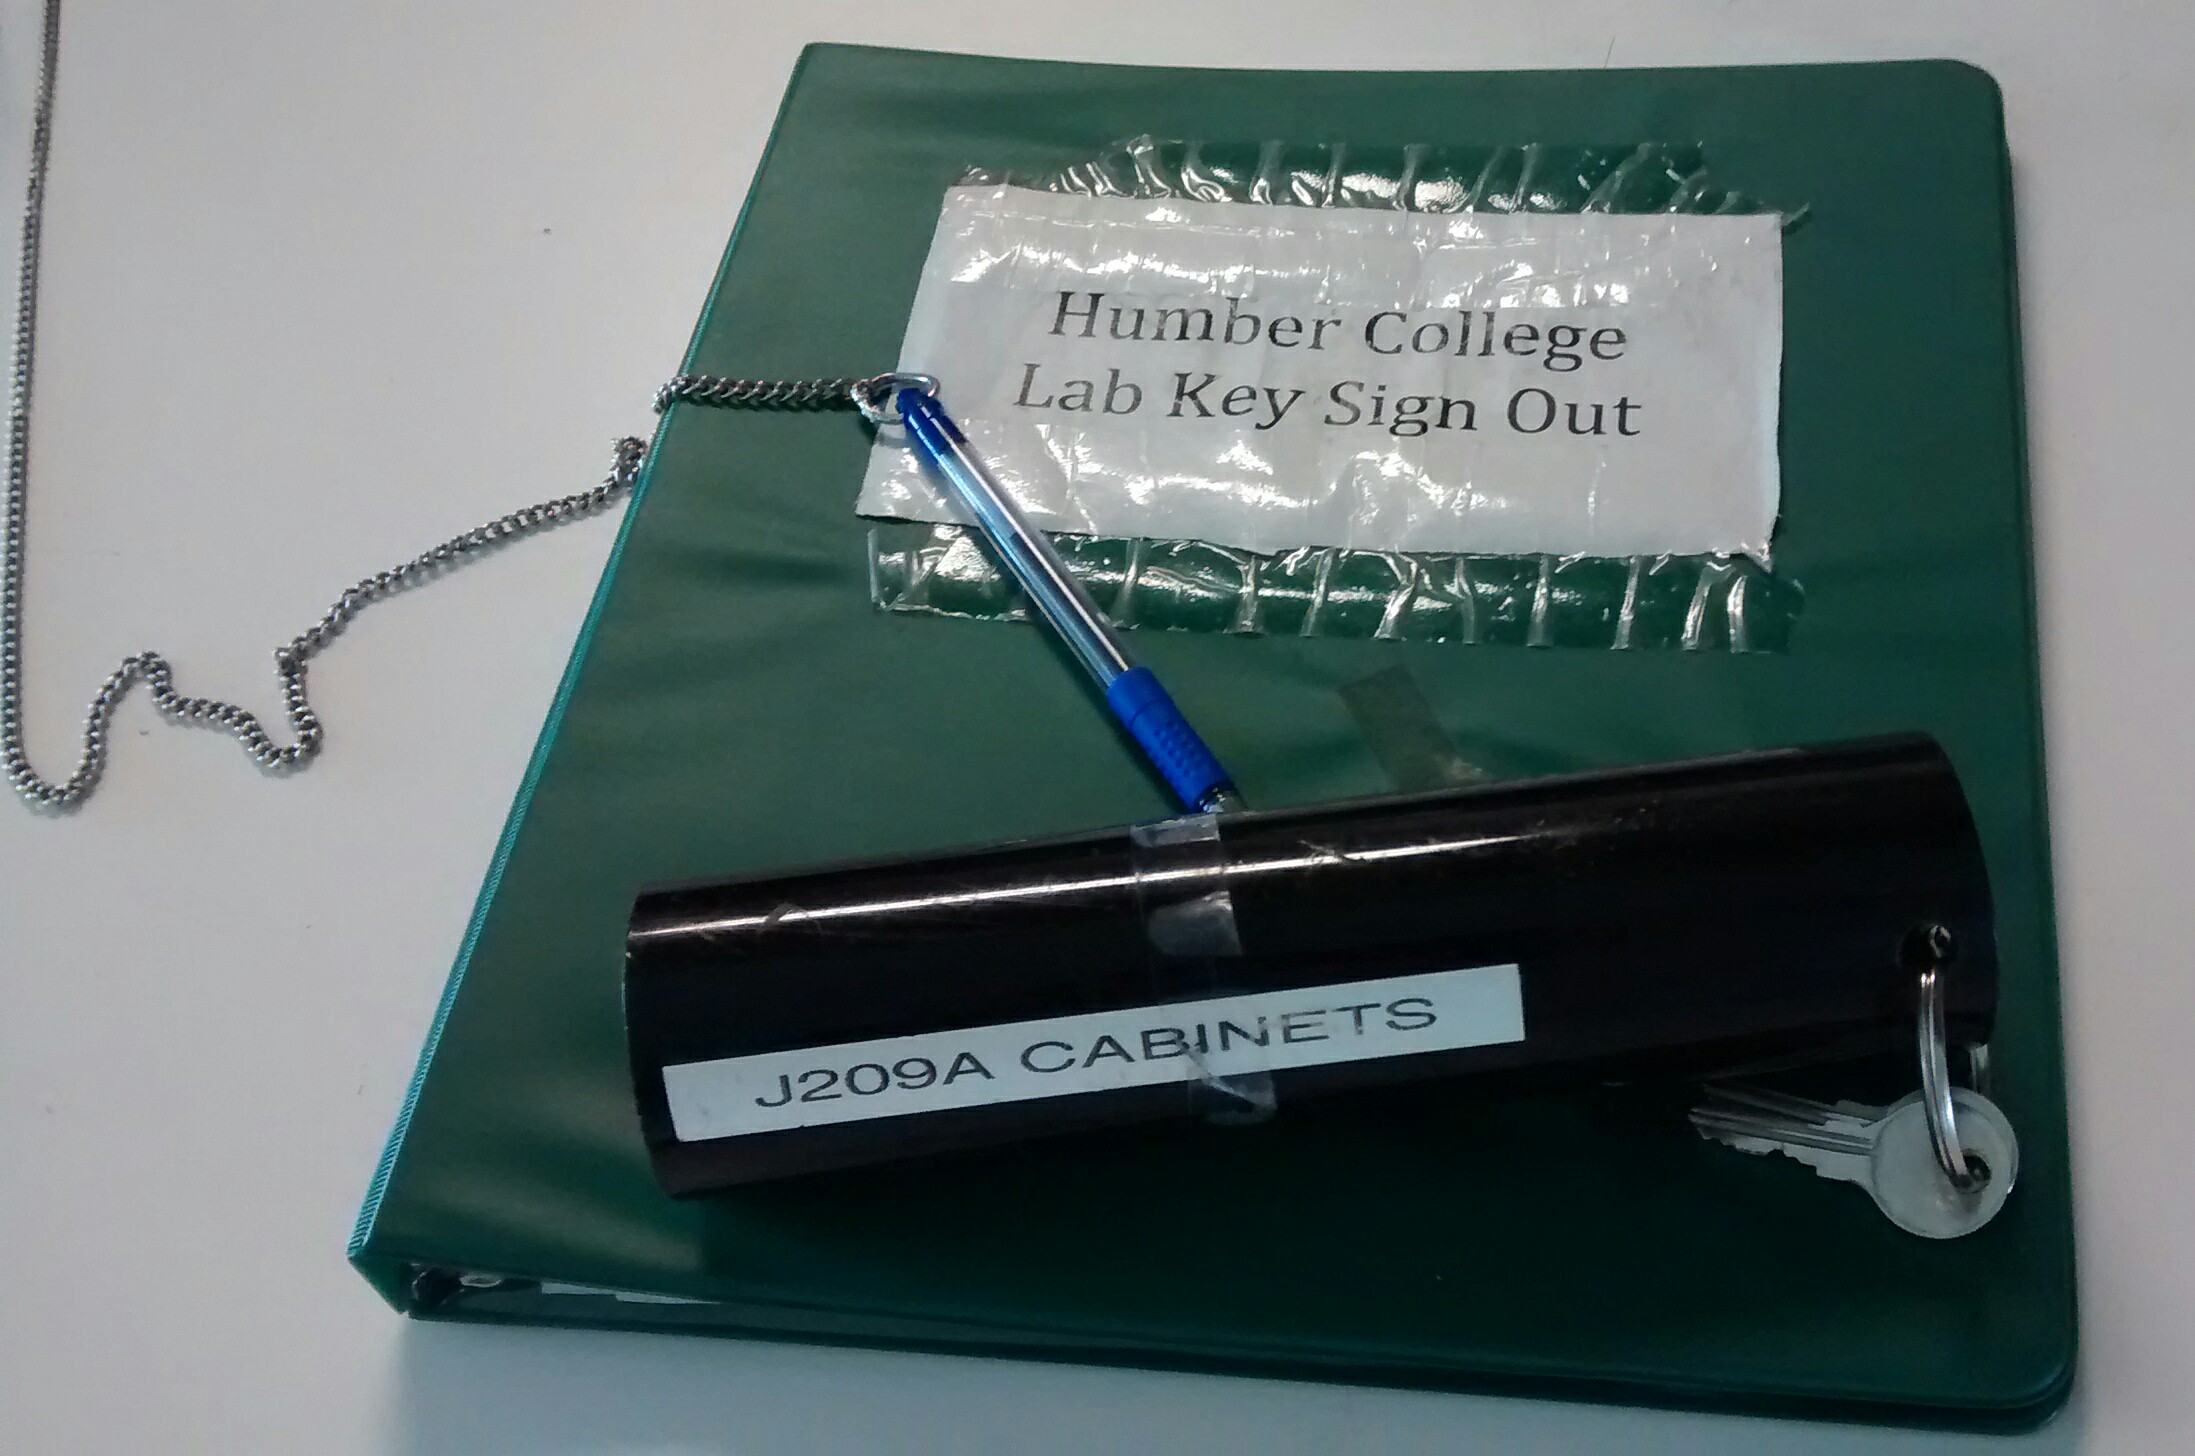
Each pair of students should sign out (from the parts crib) a:
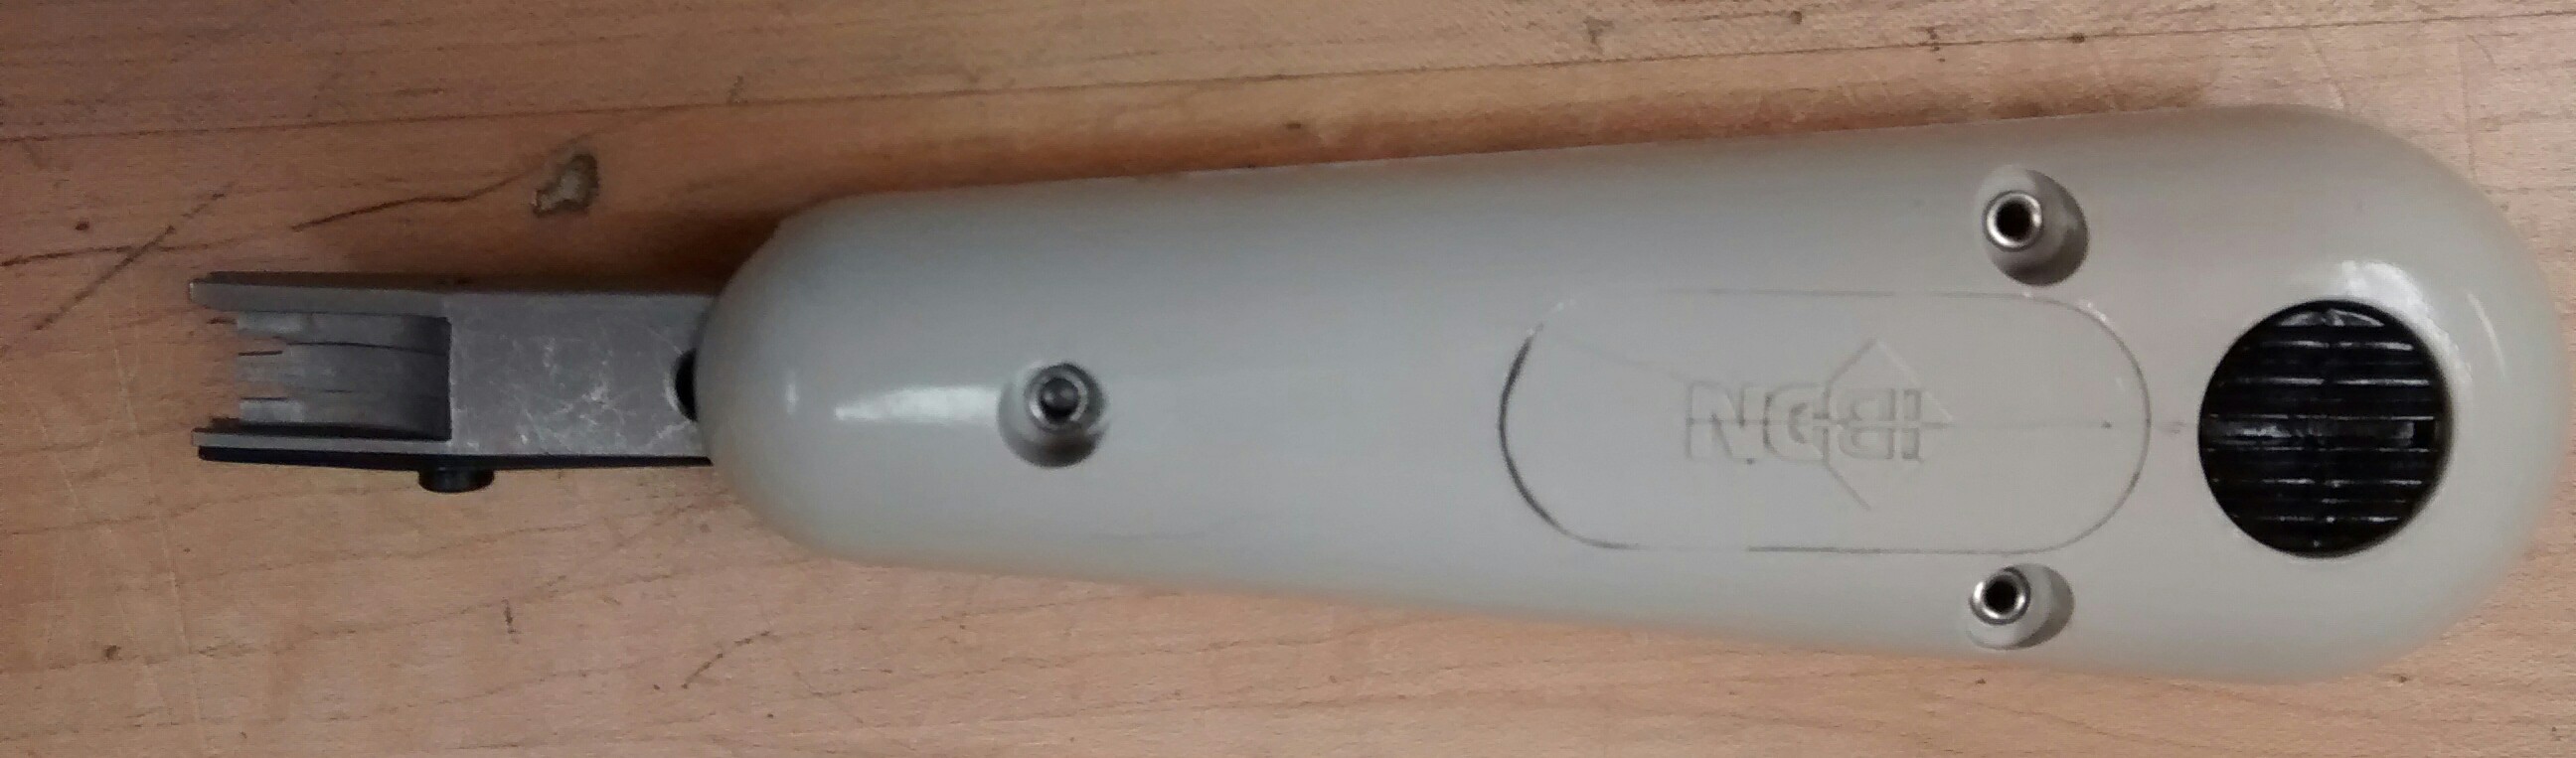
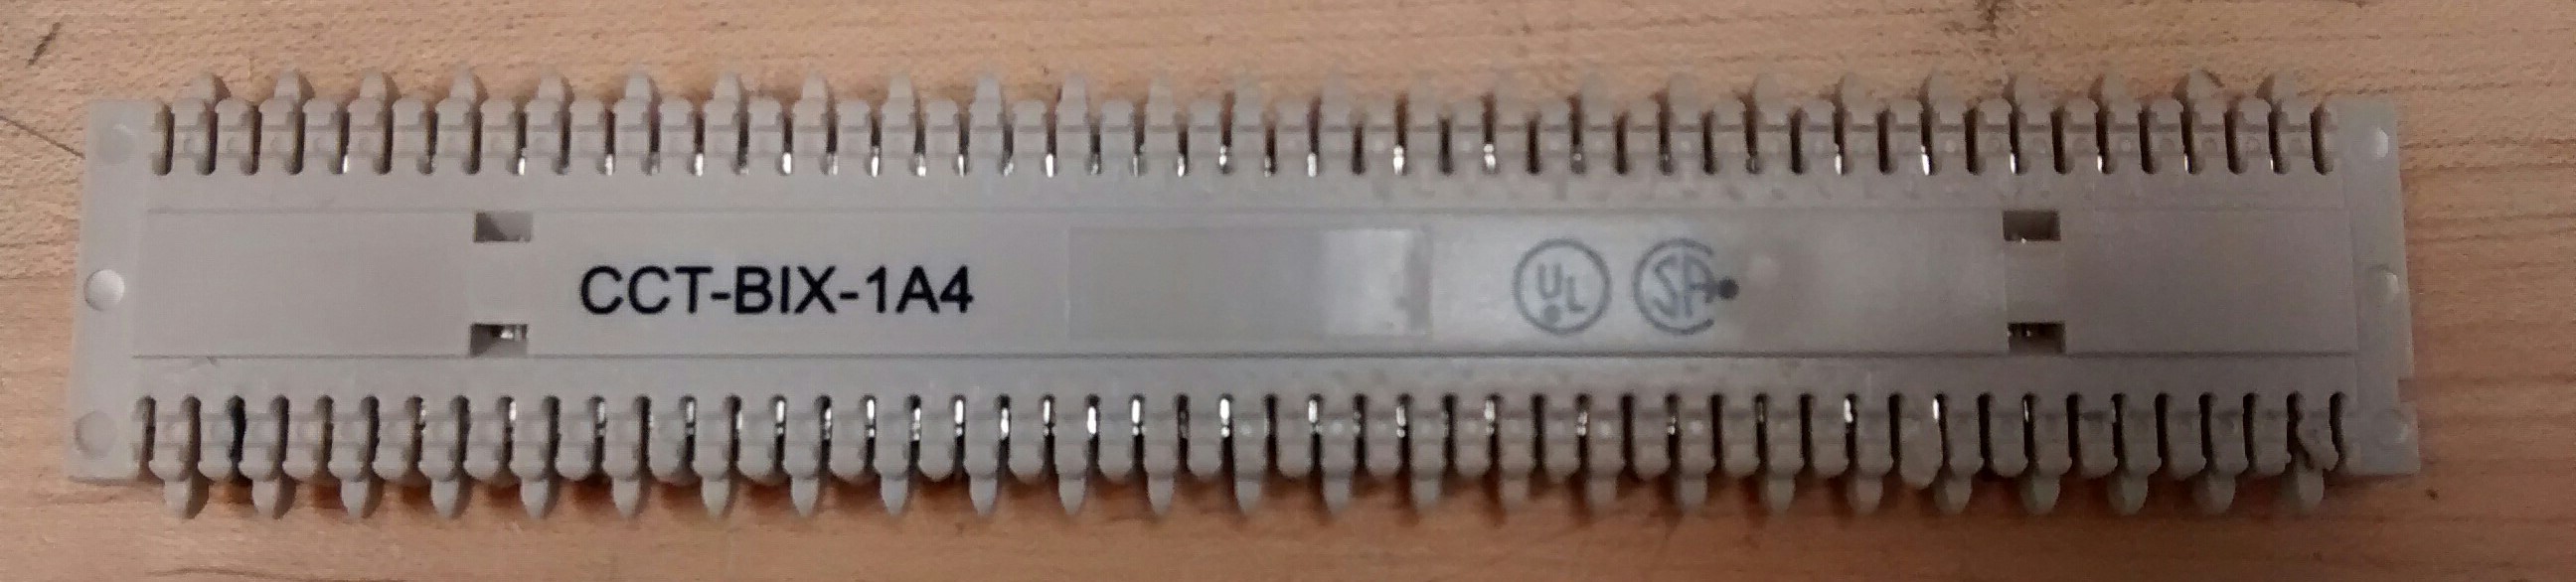
- BIX Punchdown Tool.
Each pair of students will bring:
- A pair of needlenose pliers
- Ohm meter leads
- Side cutters
- Wire strippers
- Eyewear
Each pair should sign out (from your professor):
- One zippered cable plus a couple of simple wires:
- BIX Block
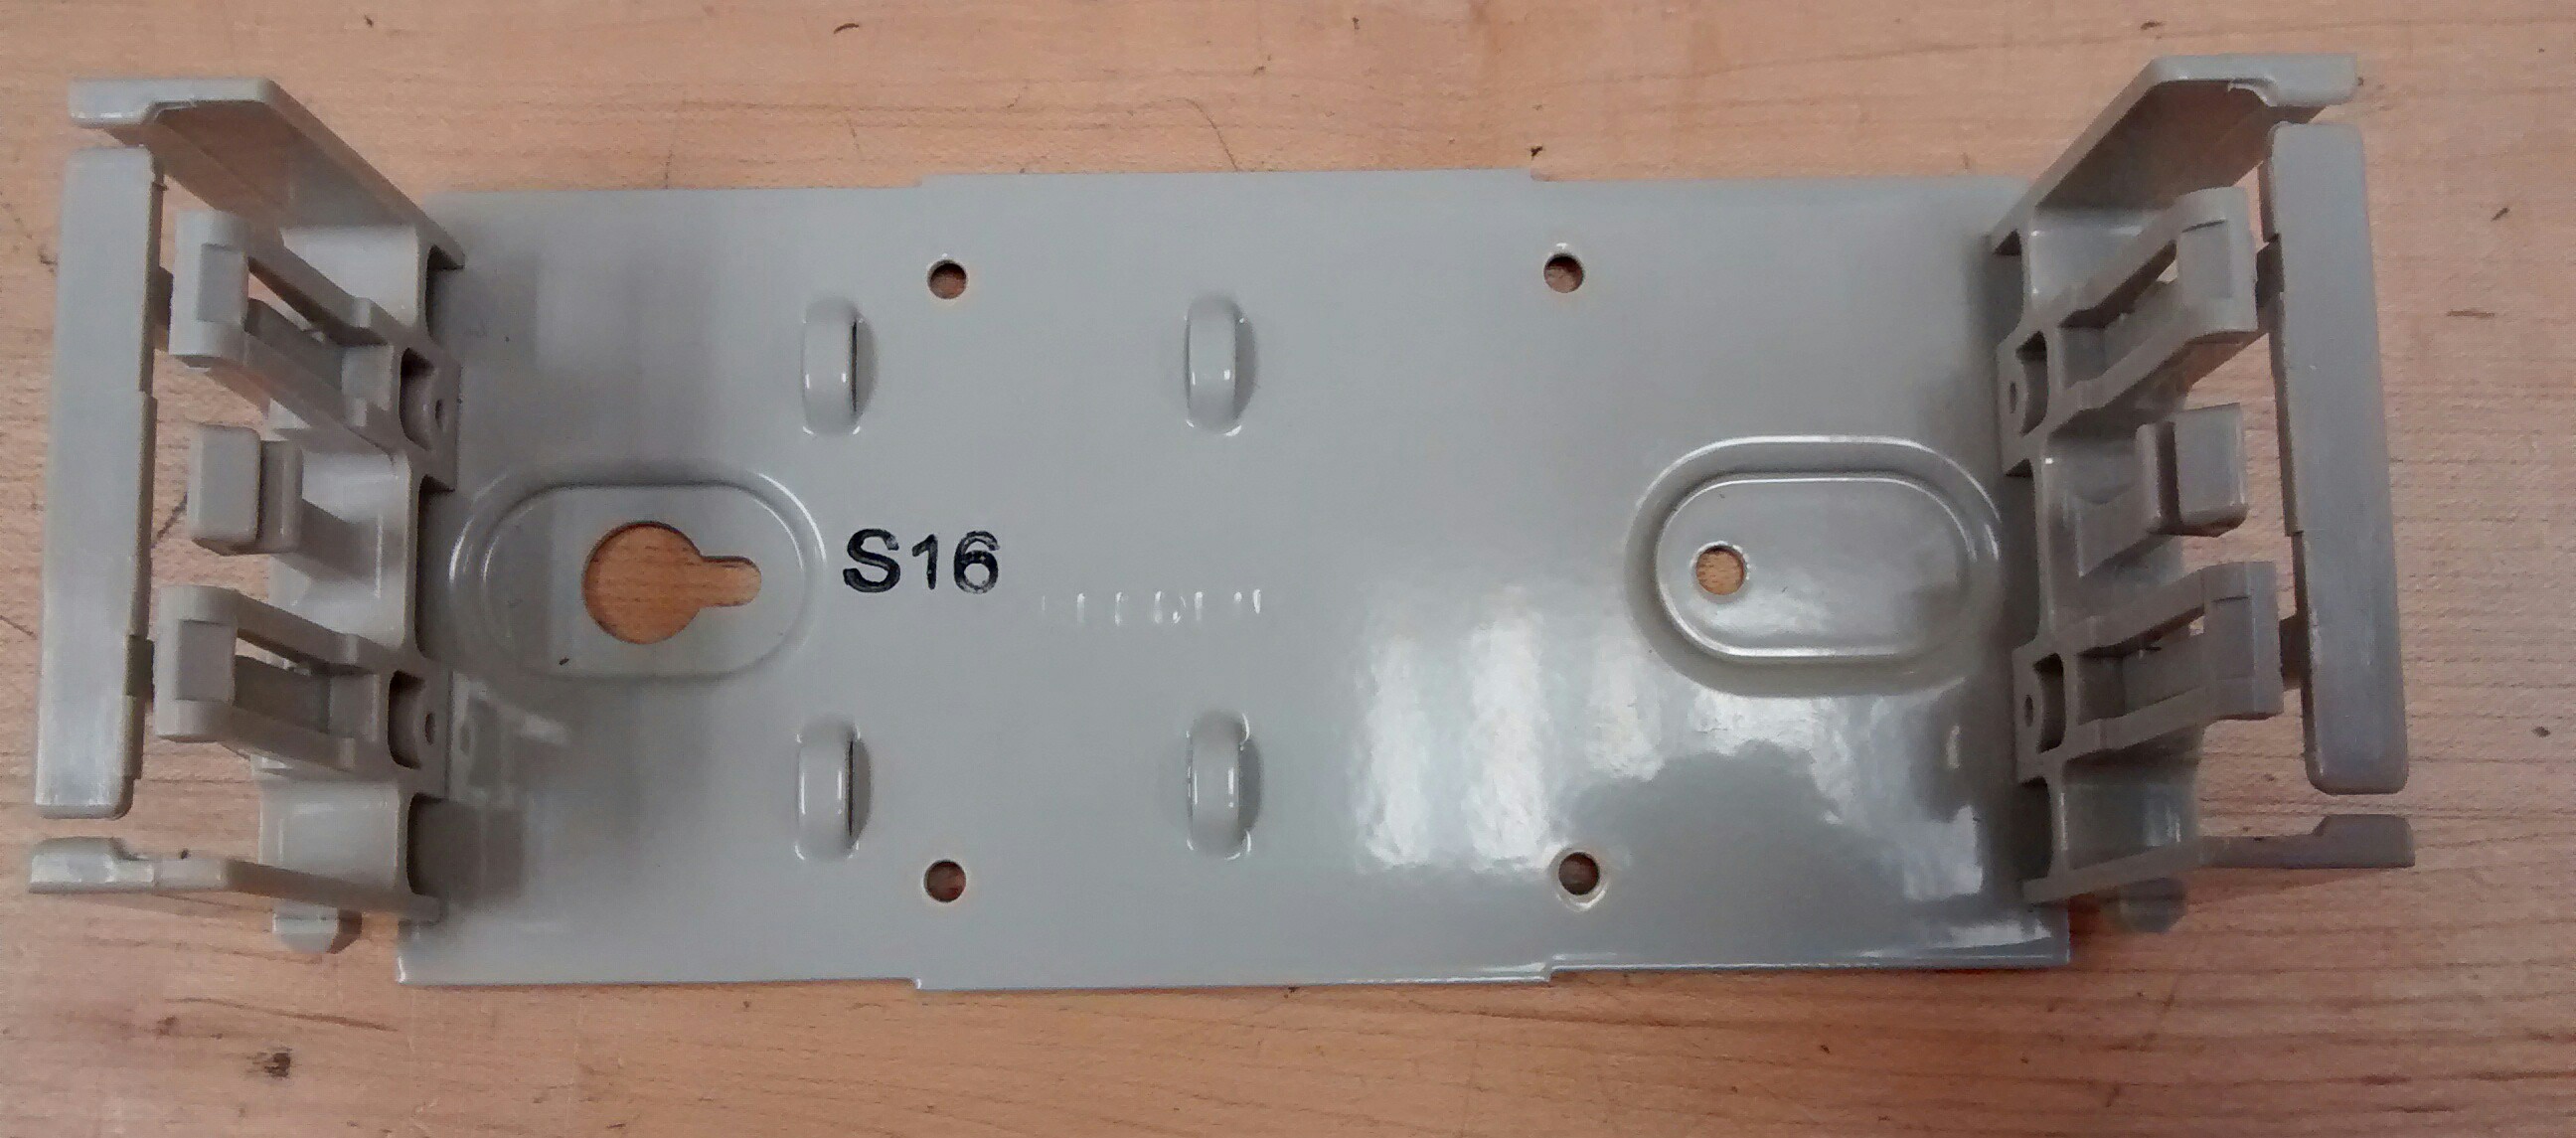
- BIX Frame:
as per the below:
| Part Name | Student Name | Sign Out Student Initials | Date | Sign In Professor Initials | Date |
|---|---|---|---|---|---|
| BIX Block | |||||
| BIX Frame | |||||
| Cable | |||||
| BIX Block | |||||
| BIX Frame | |||||
| Cable | |||||
| BIX Block | |||||
| BIX Frame | |||||
| Cable | |||||
| BIX Block | |||||
| BIX Frame | |||||
| Cable | |||||
| BIX Block | |||||
| BIX Frame | |||||
| Cable | |||||
| BIX Block | |||||
| BIX Frame | |||||
| Cable | |||||
| BIX Block | |||||
| BIX Frame | |||||
| Cable | |||||
| BIX Block | |||||
| BIX Frame | |||||
| Cable | |||||
| BIX Block | |||||
| BIX Frame | |||||
| Cable | |||||
| BIX Block | |||||
| BIX Frame | |||||
| Cable | |||||
| BIX Block | |||||
| BIX Frame | |||||
| Cable | |||||
| BIX Block | |||||
| BIX Frame | |||||
| Cable | |||||
| BIX Block | |||||
| BIX Frame | |||||
| Cable | |||||
| BIX Block | |||||
| BIX Frame | |||||
| Cable |
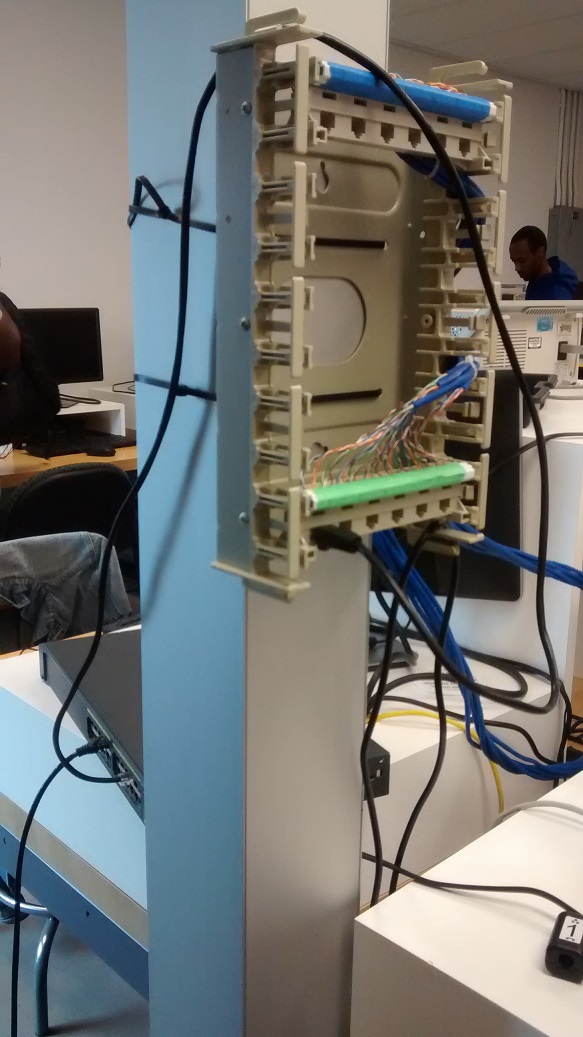
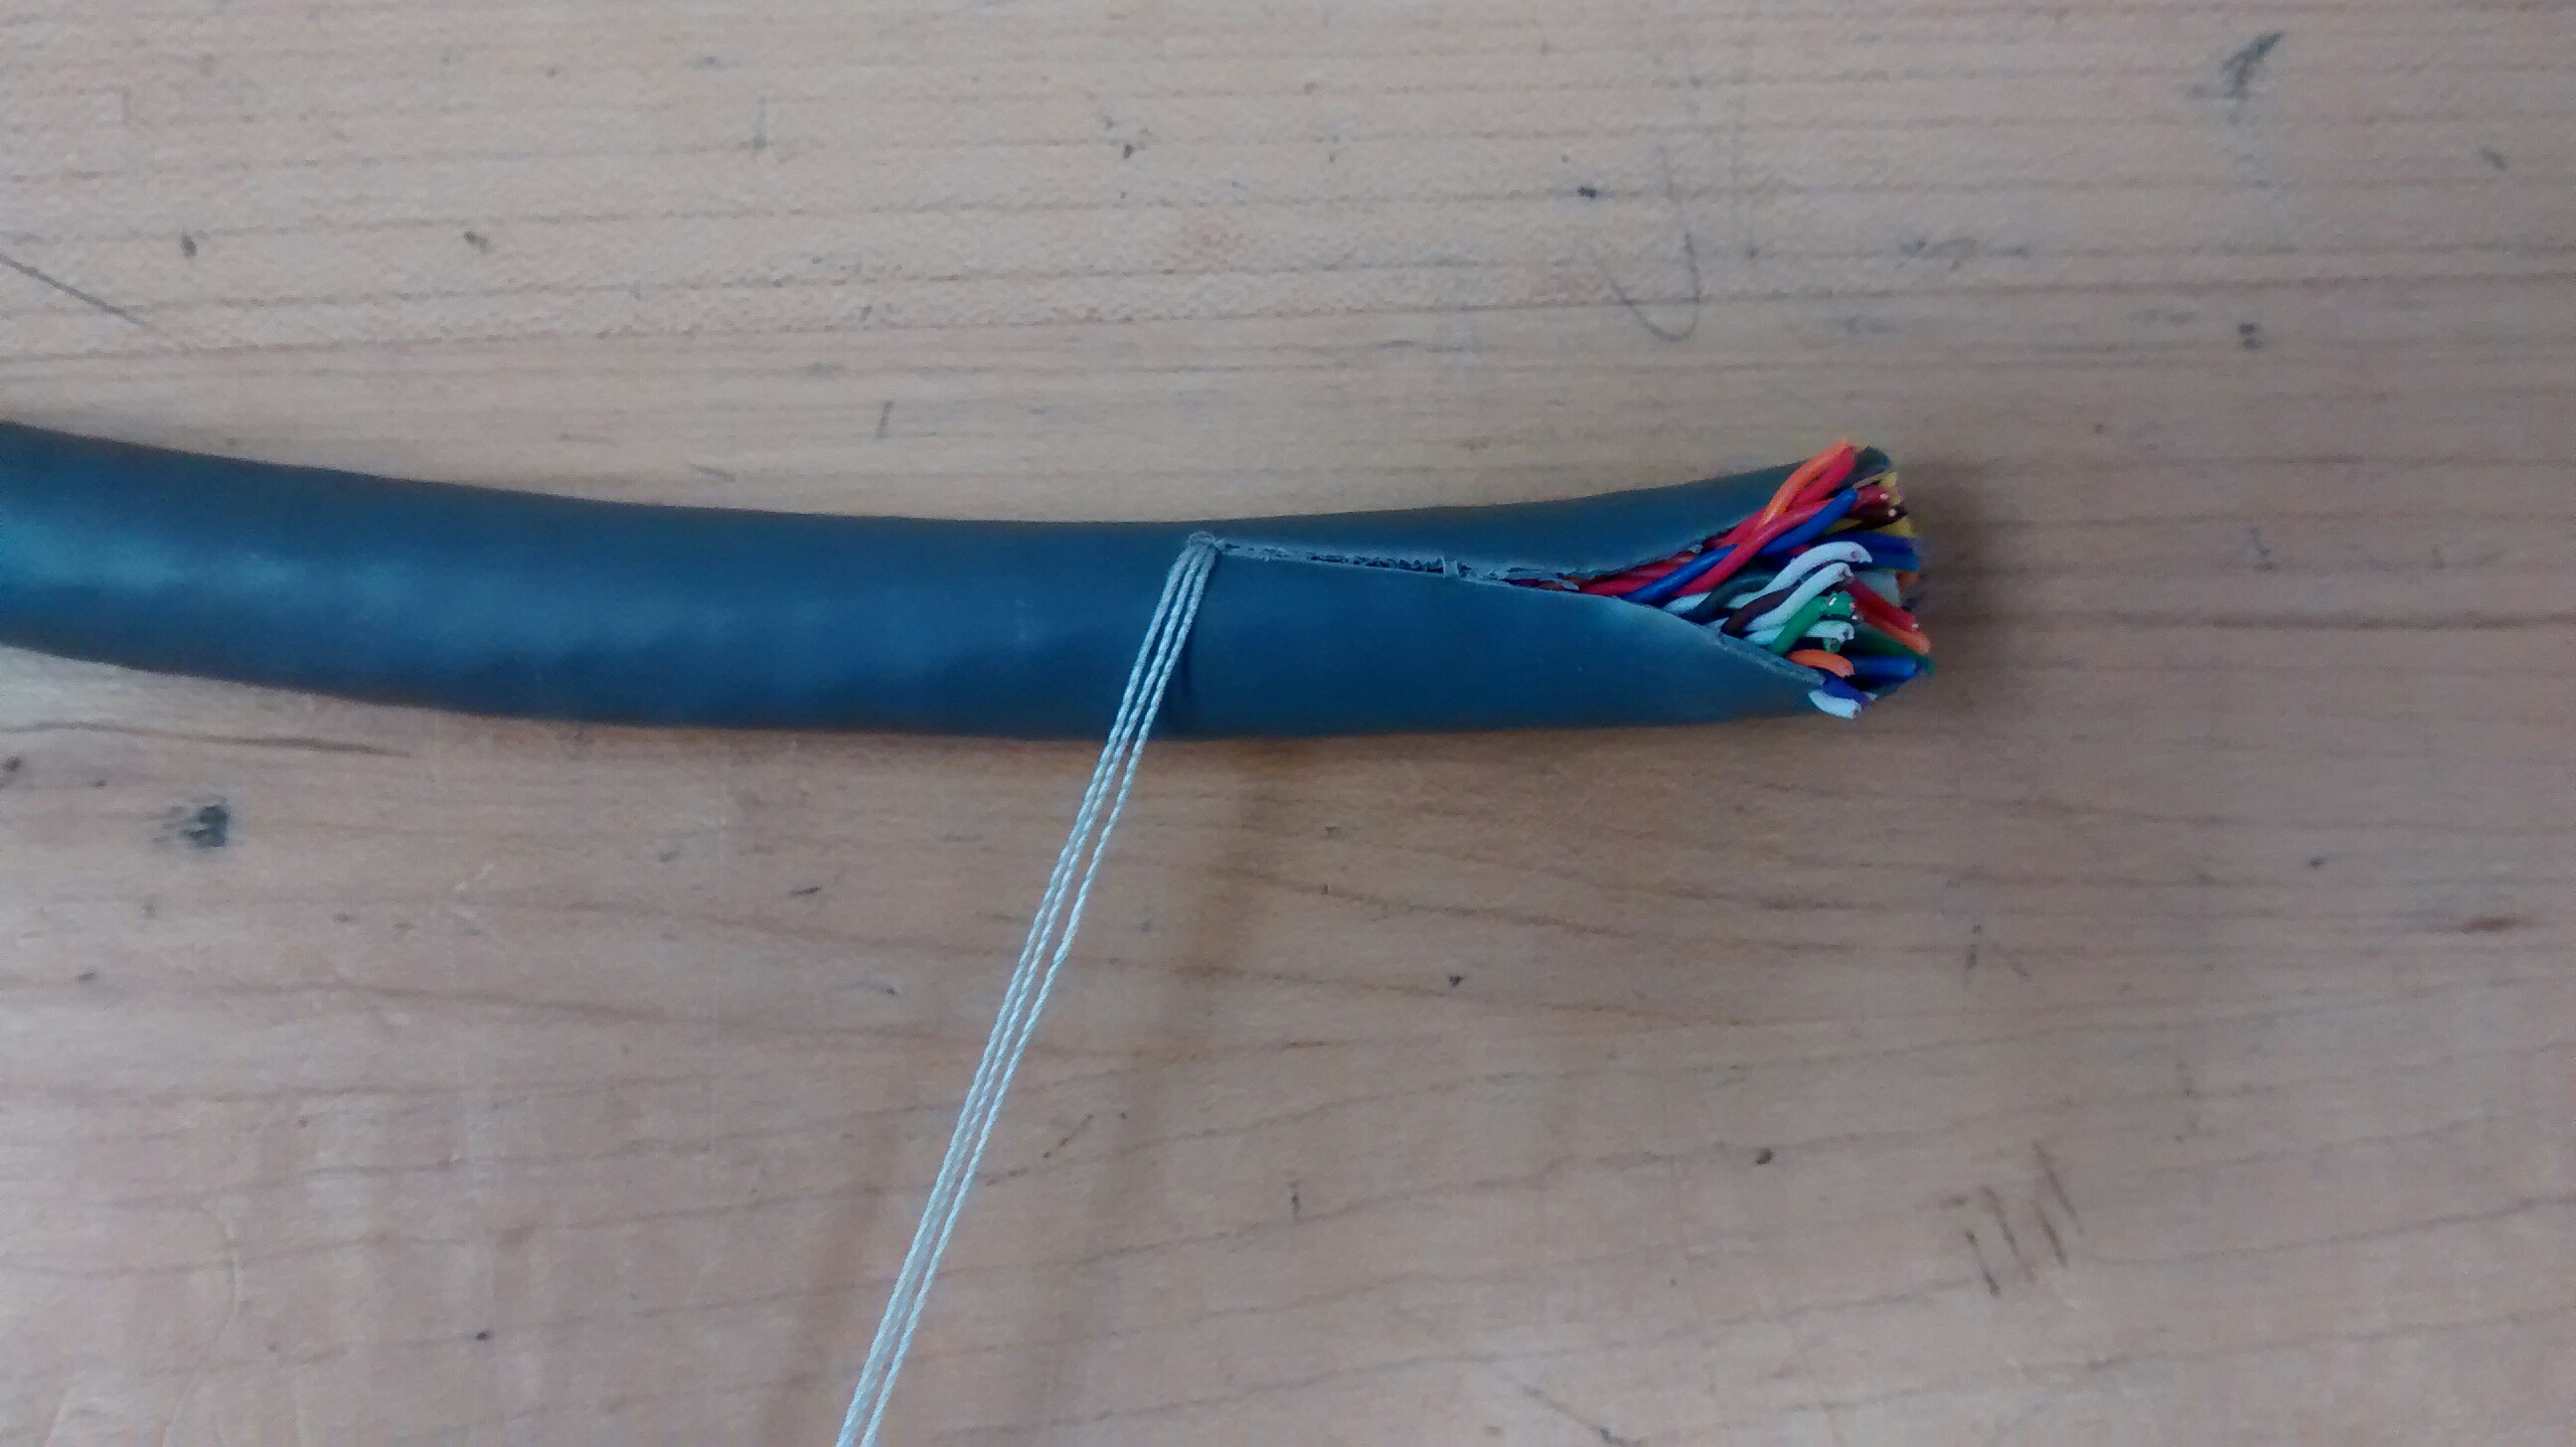
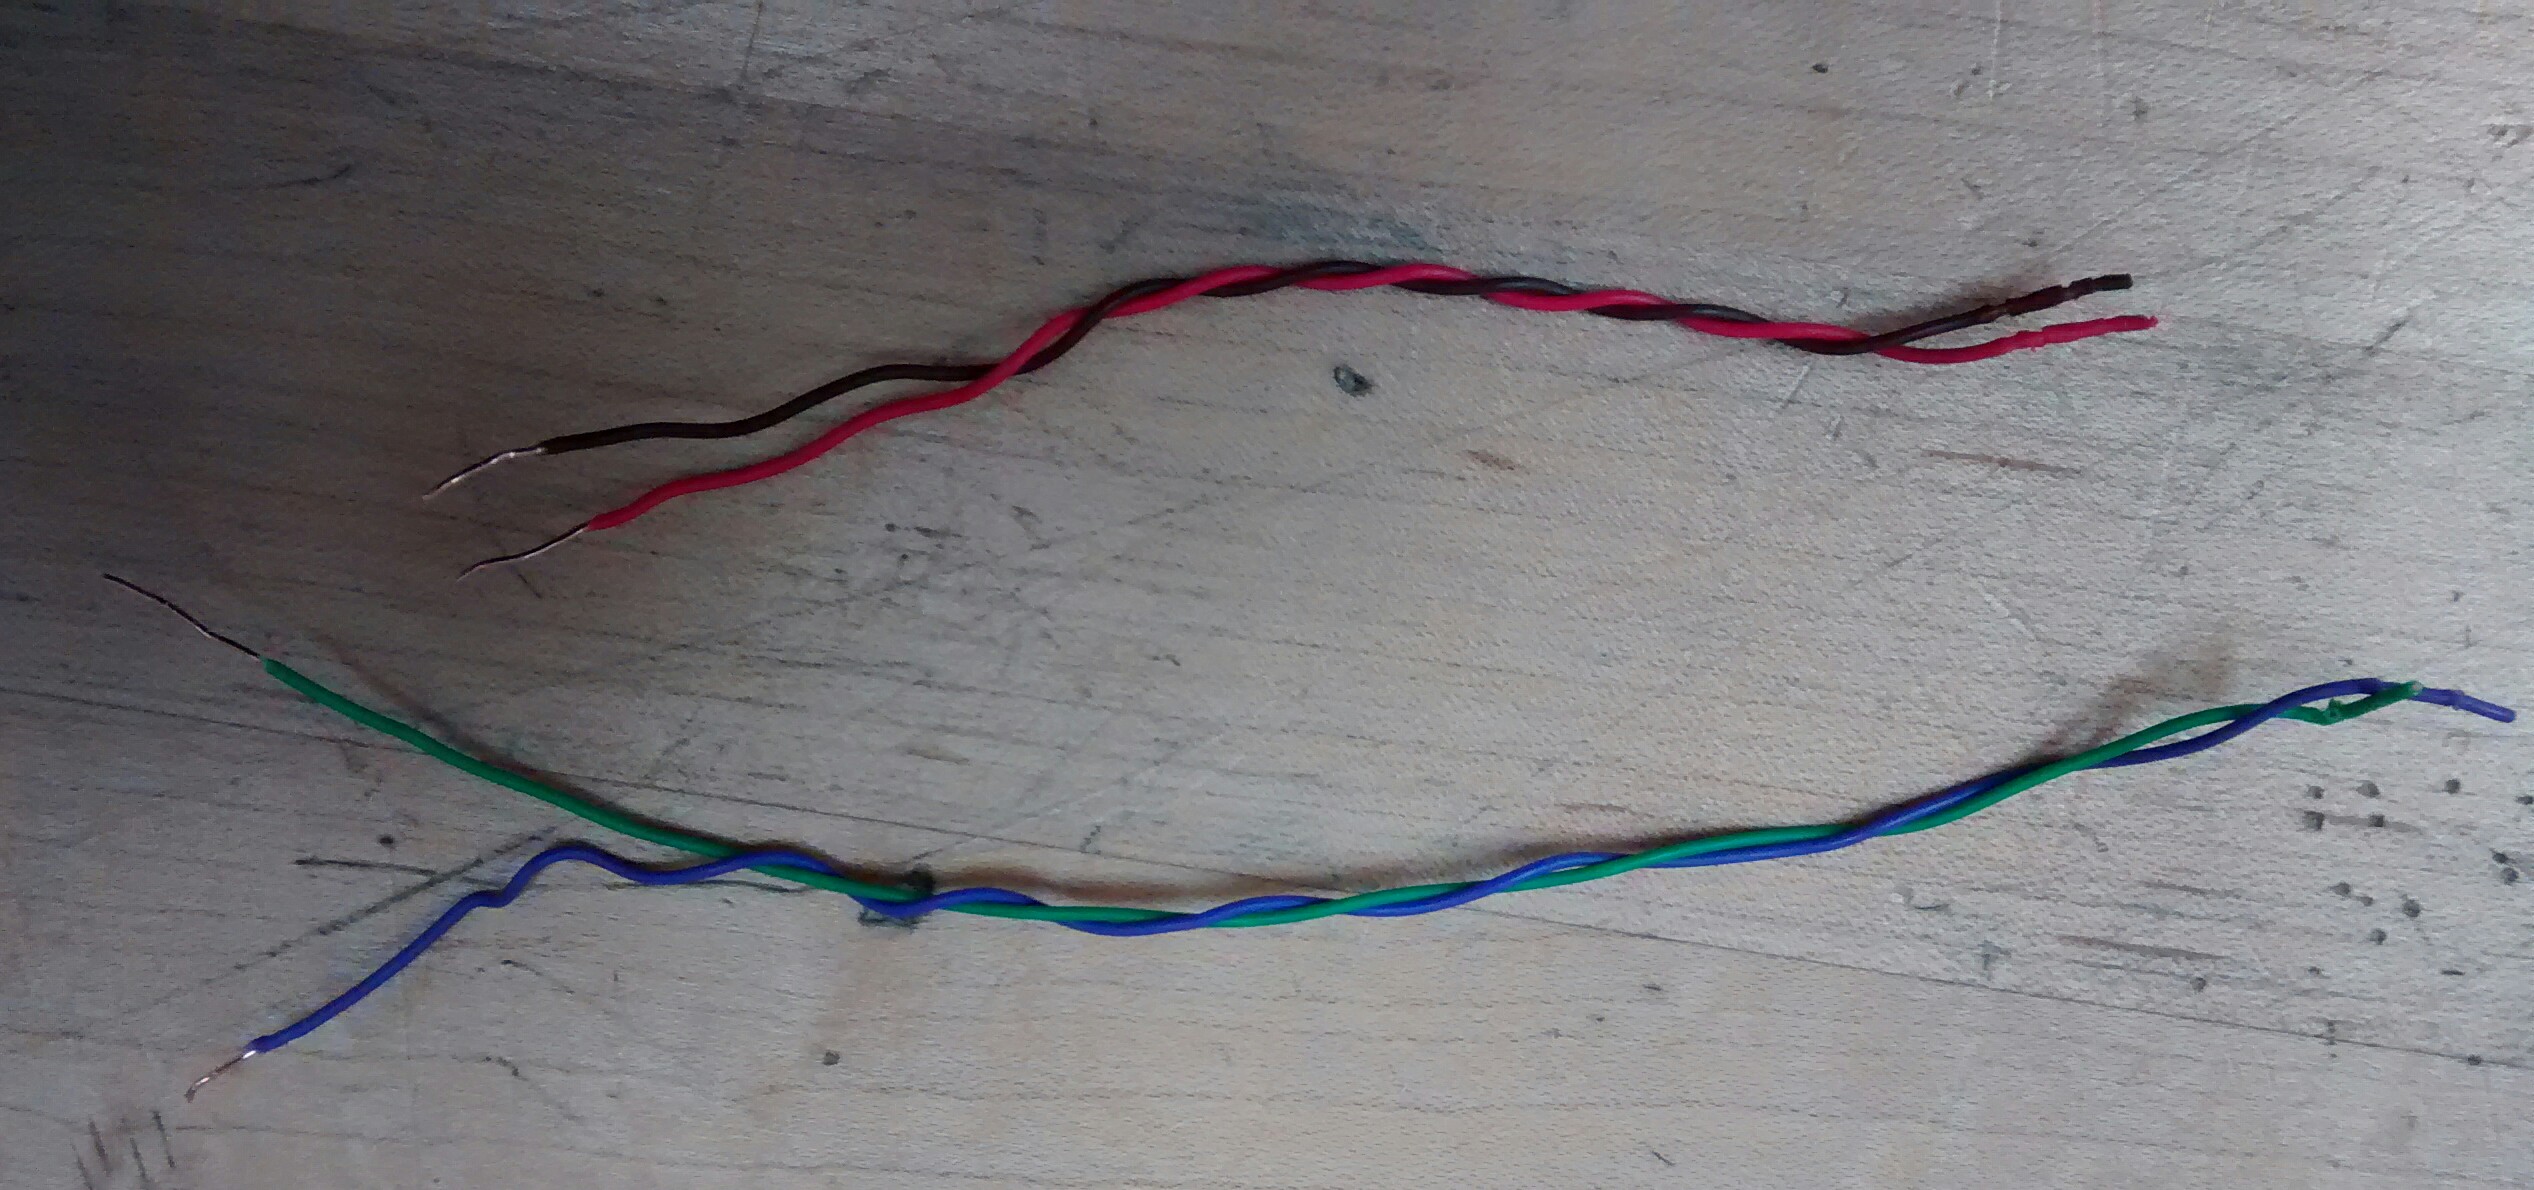
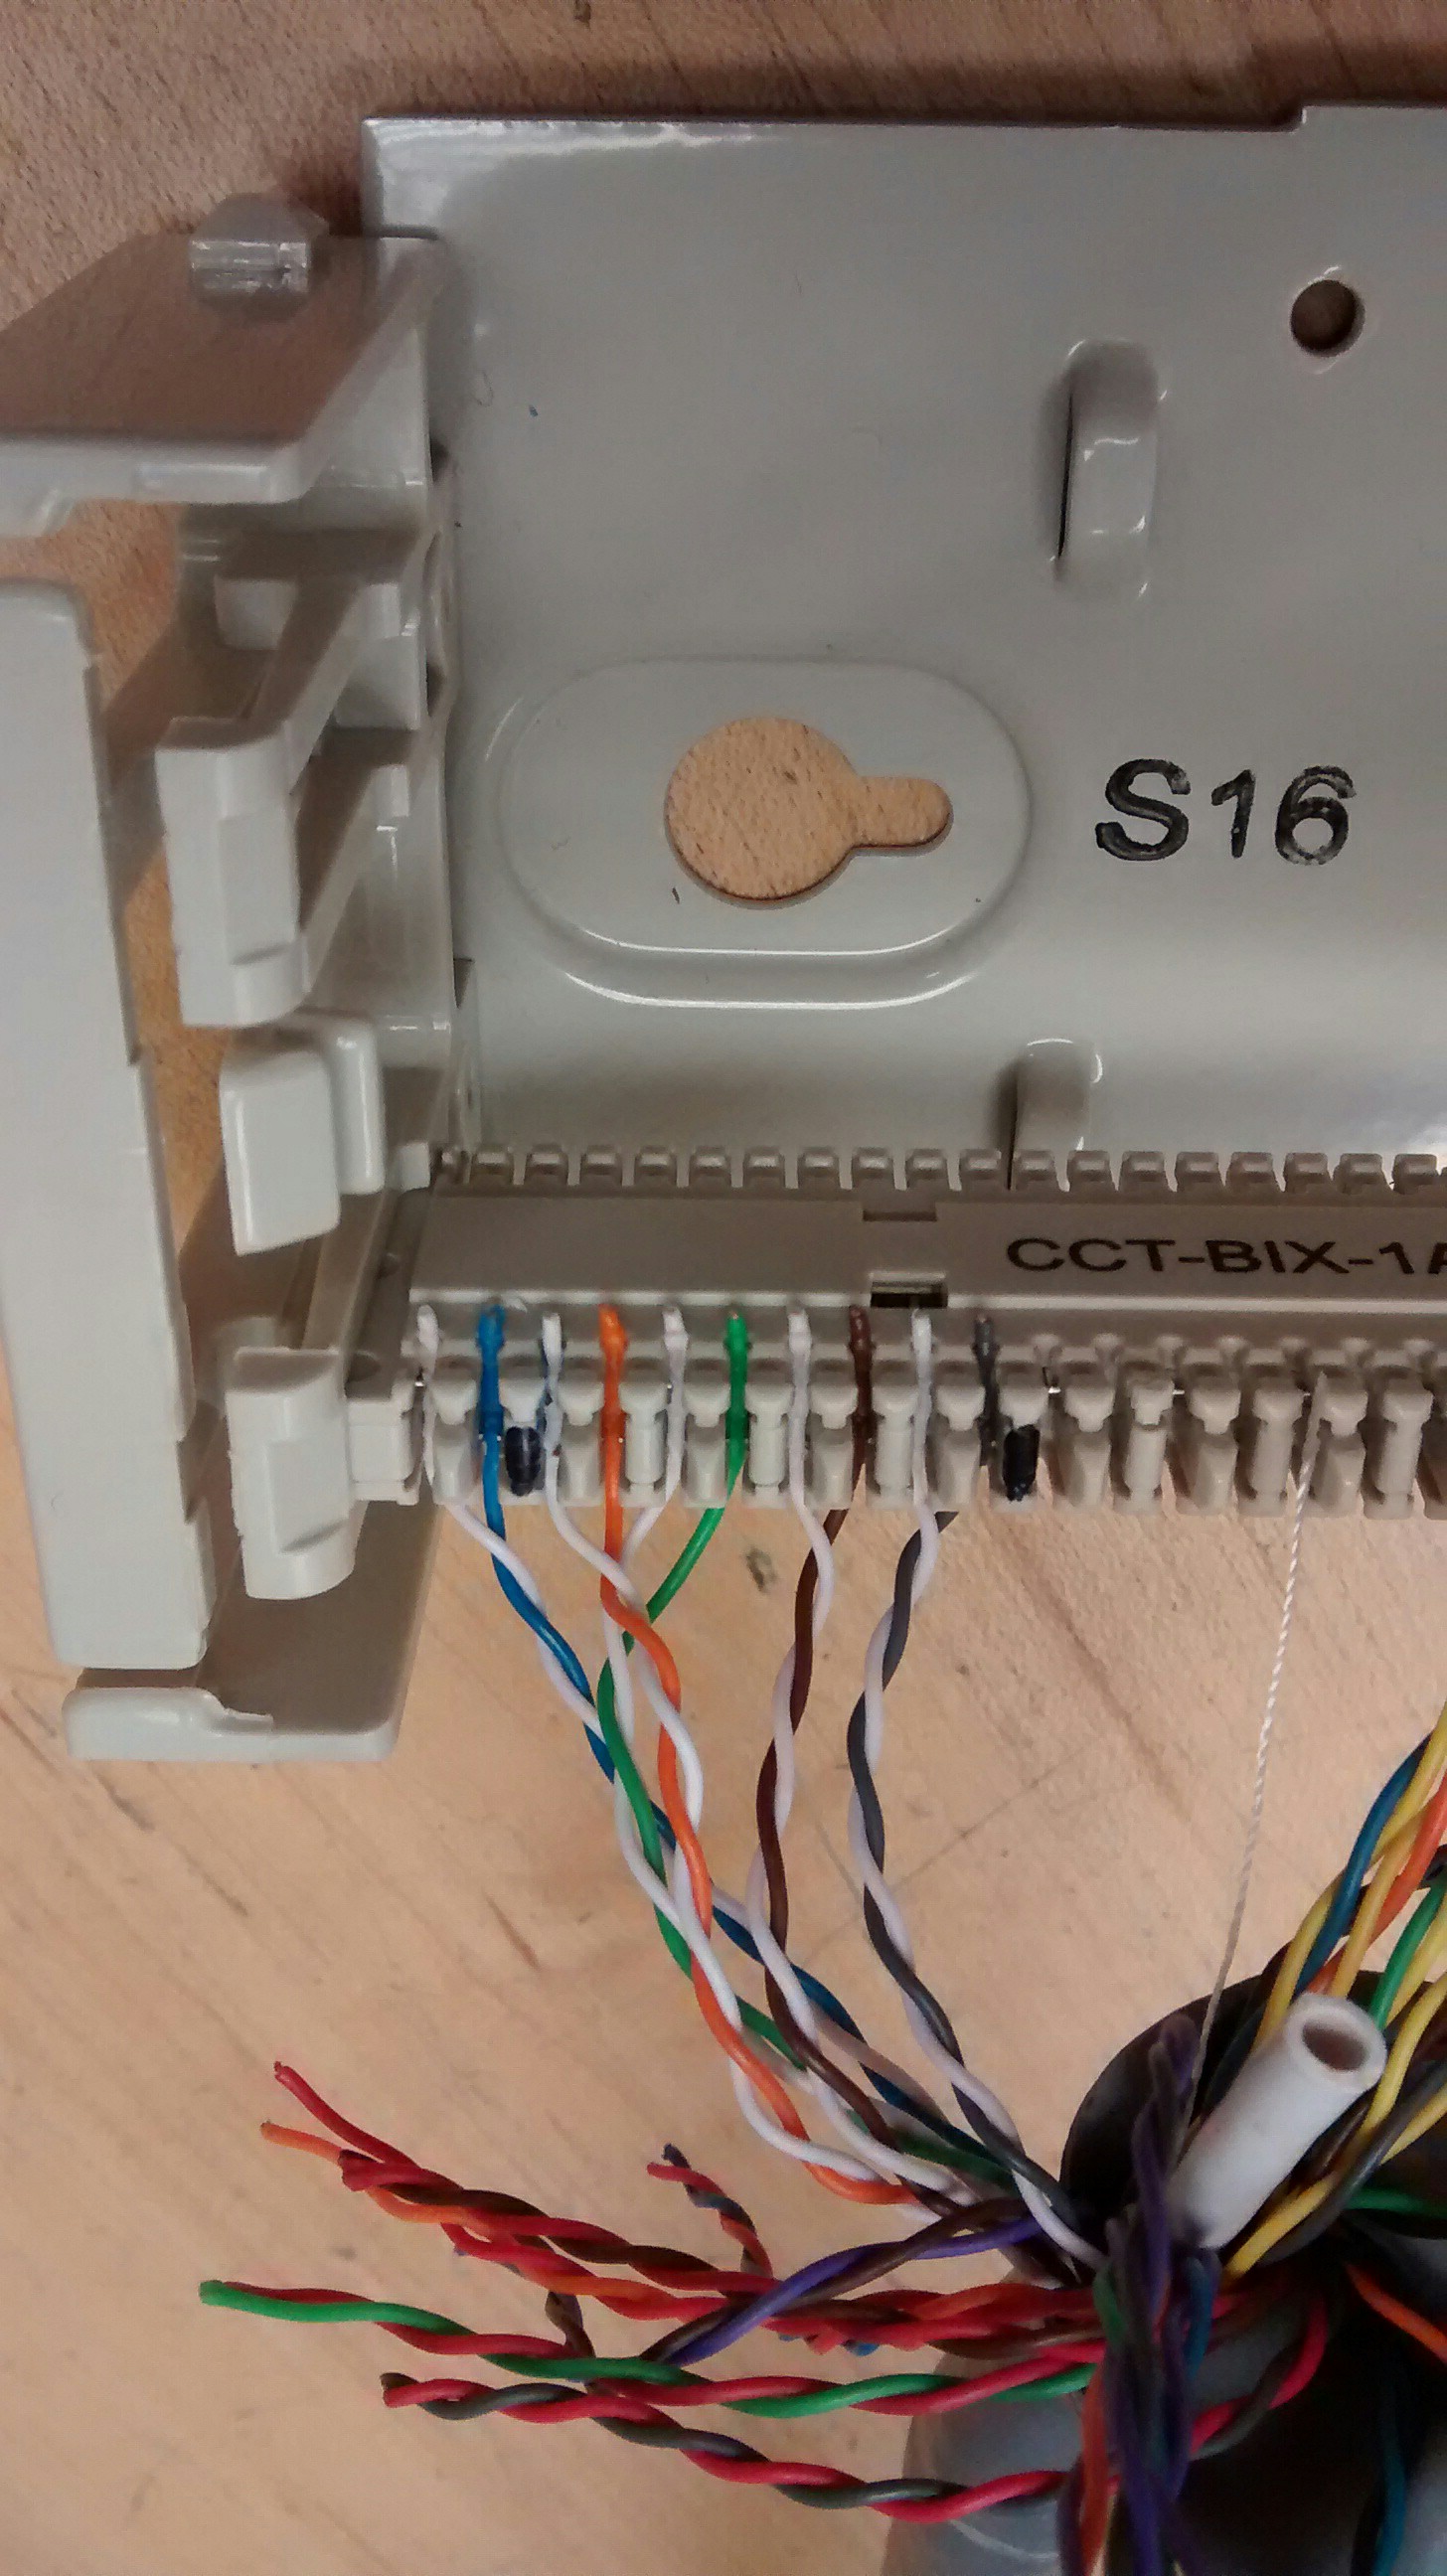
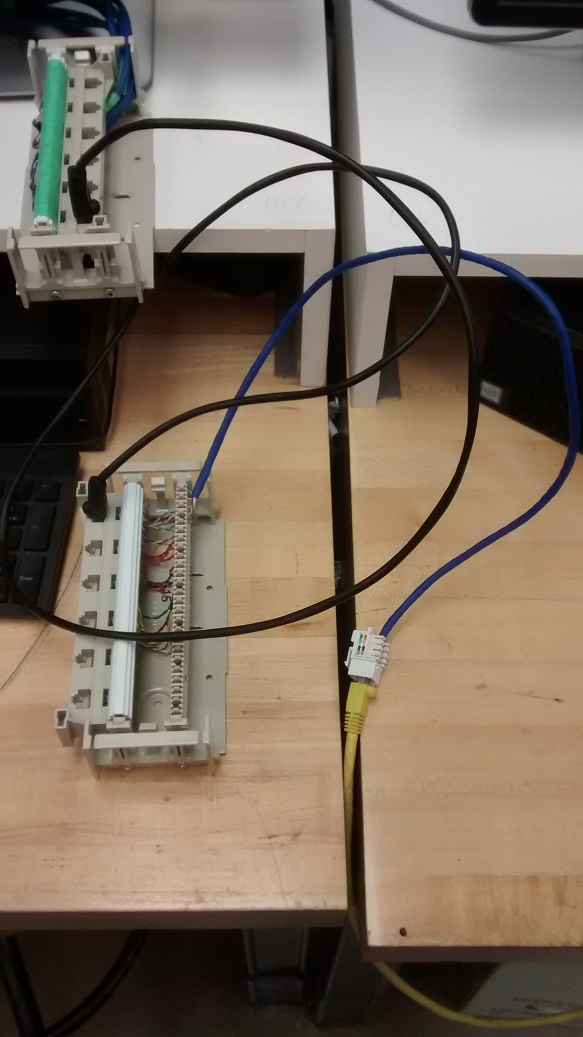
Blue green punched for resistance measurement:
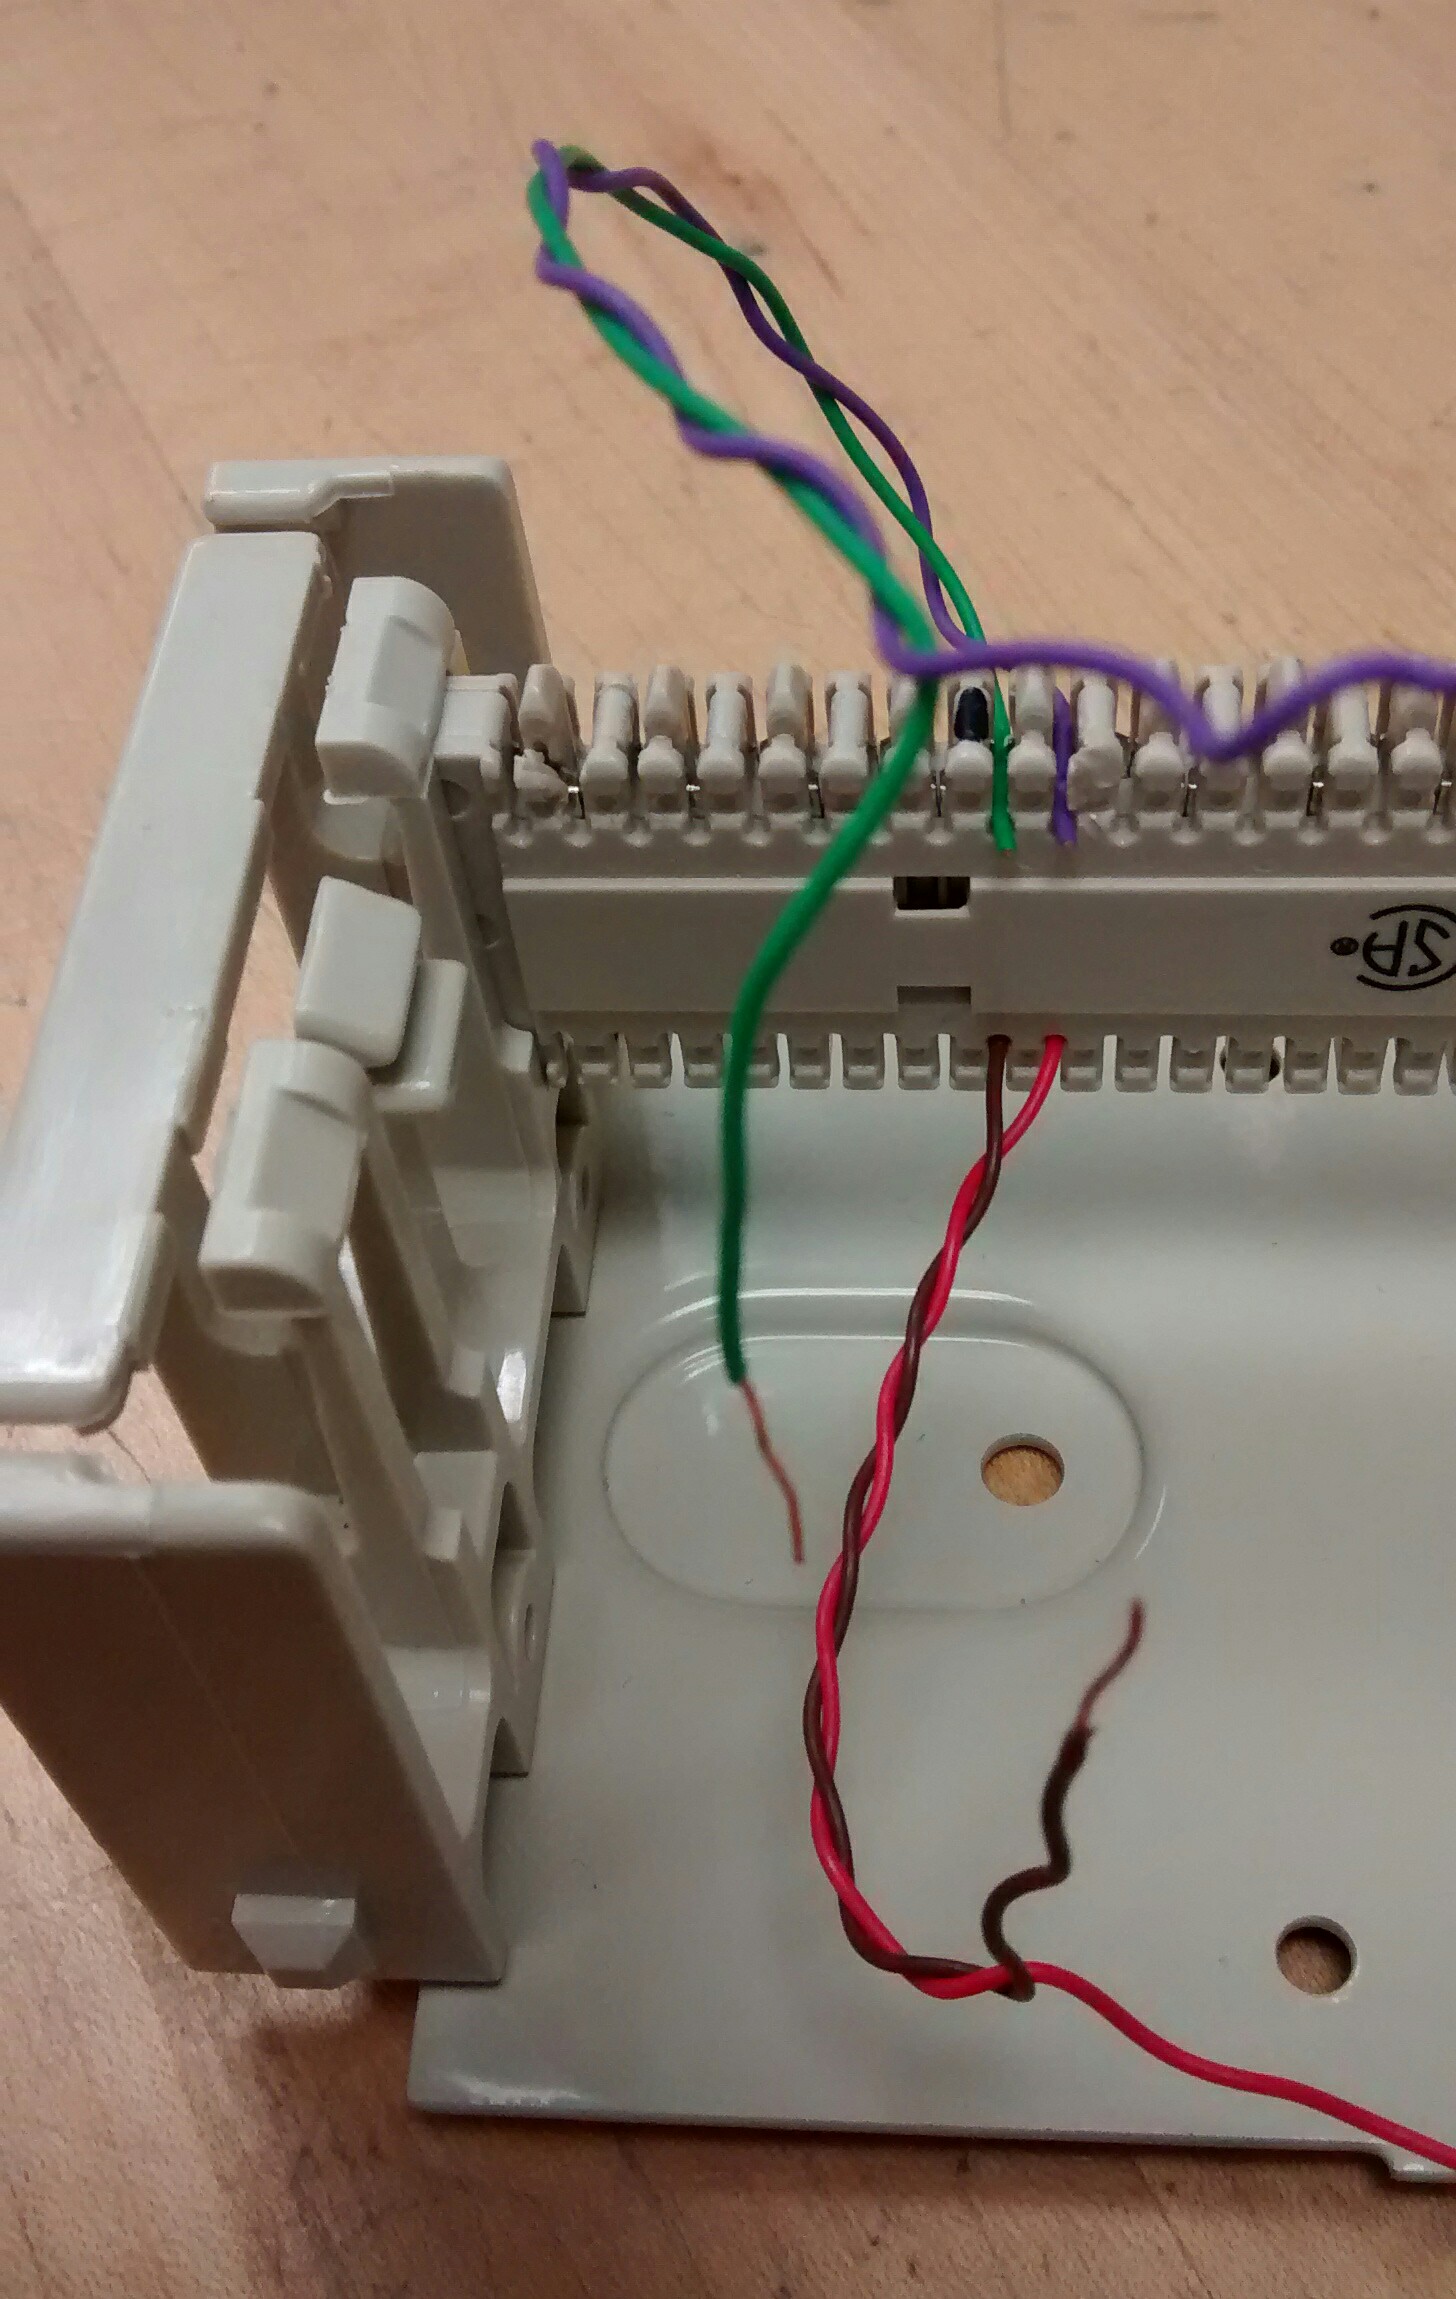
5 pair are punched in the below image, the first student should punch down all 25 pairs and then request the professor to initial their lab instructions. Then the second student should punch down the other end of the cable (first end can be removed once initials are obtained) and once again request the professor to initial their lab instructions.
Please print out (and staple) from Blackboard the Learning Materials > LABs > Lab 2-Serial Communication.pdf
If it is not available yet, use Google to find the wiring connections of a DB9 to DB25 serial cable as well as the DB25 to DB25 (DTE to DTE) null modem wiring connections.
For the second part of this lab each pair of students will be building a null modem cable akin to:
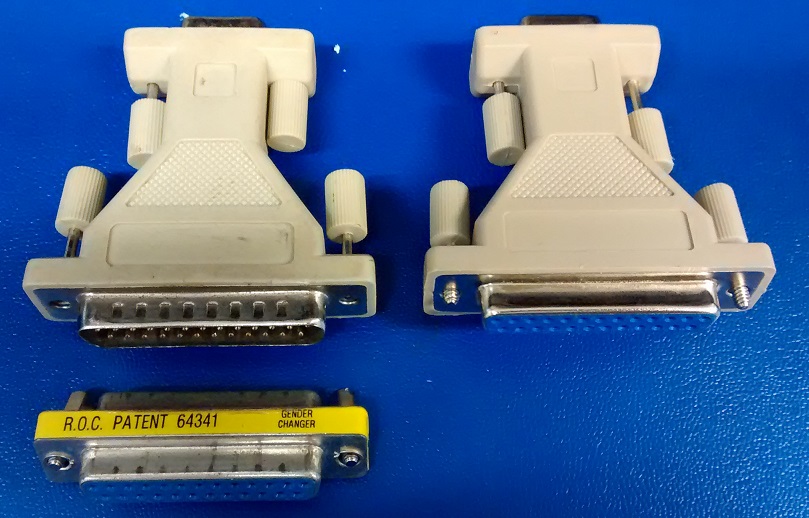
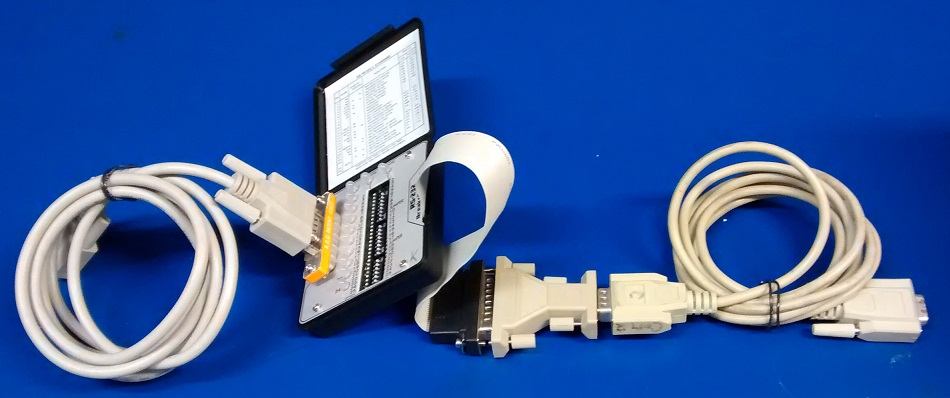 For this, a breakout box, two serial cables, a 9-25 pin adaptor:
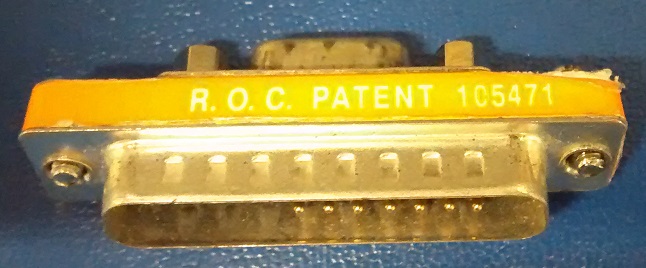
and a 25-9 pin adaptor are needed - note that you may need a gender changer depending on the adaptor you receive:
- Each pair should sign out a punch down tool and an additional ethernet patch cable.
LabJackField
Panel