![]()
![]()
![]()
![]()
![]()
Website | Documentation | Changelog
Setup your own online version of sitespeed.io. You get:
-
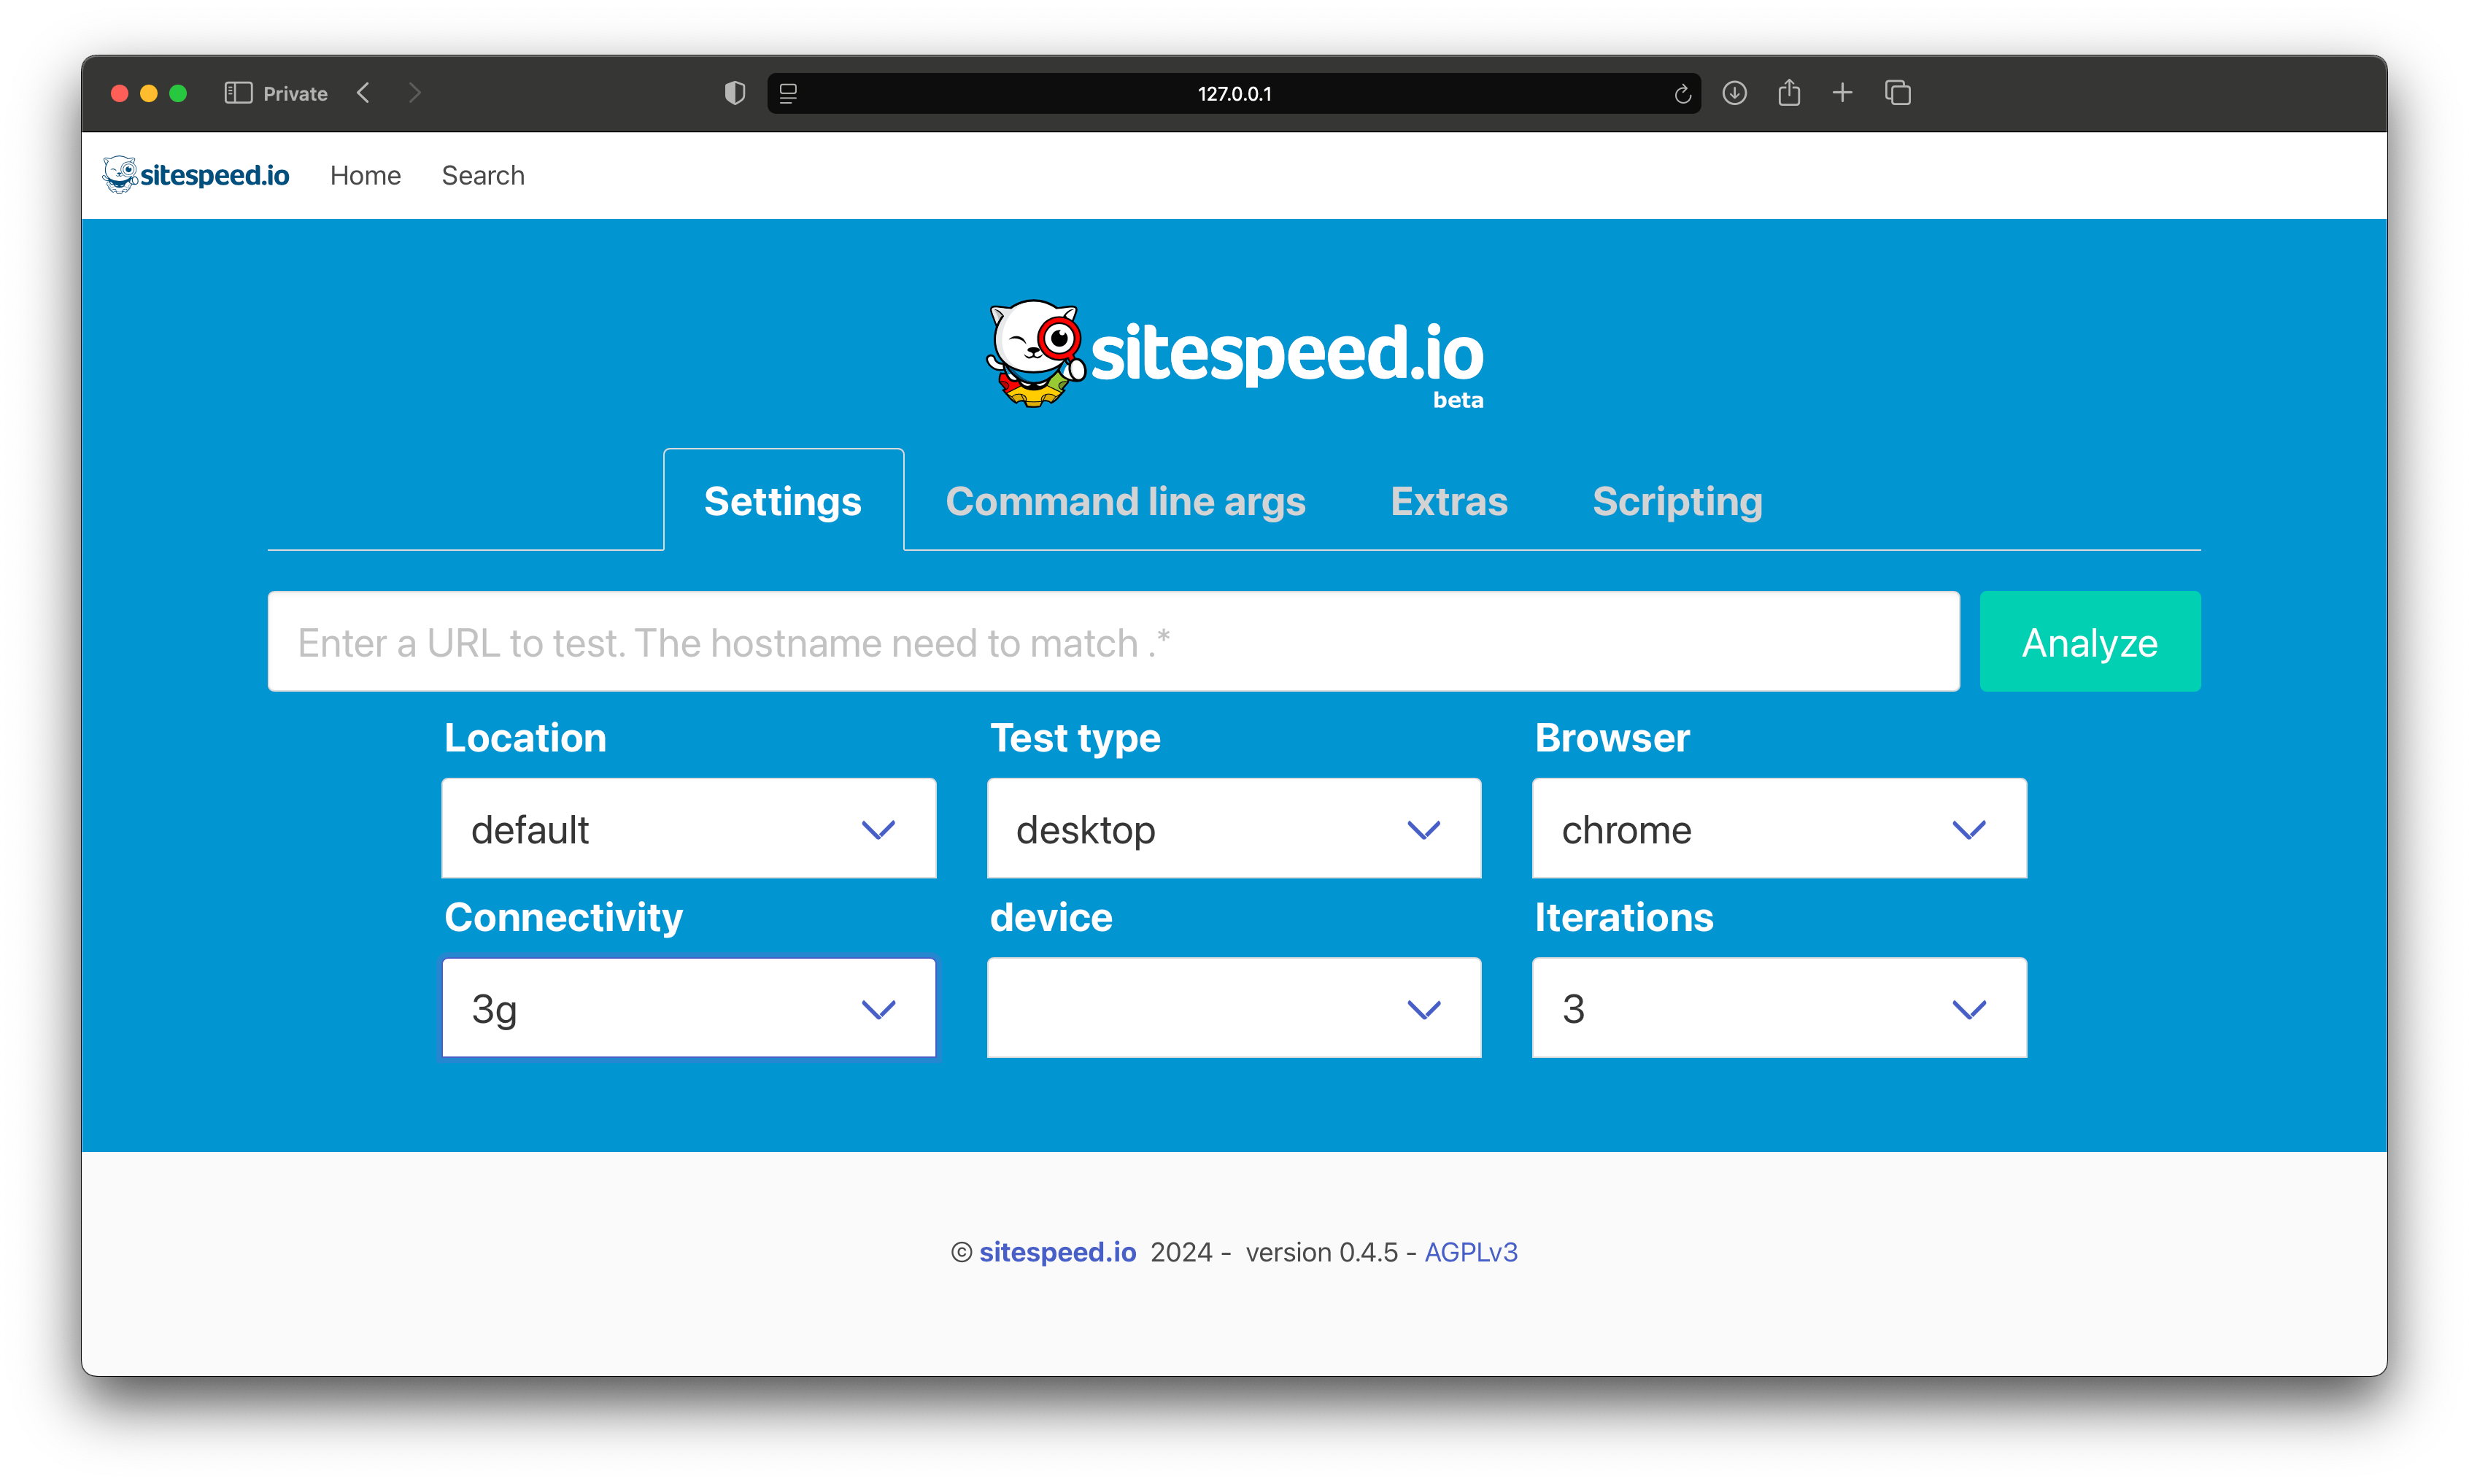
A server with GUI and API:
- Add tests using a HTML frontend (you can style the frontend using your own CSS)
- Add tests using the command line (using
sitespeed.io --api.hostname my.host.com --api.location default https://www.sitespeed.io)
- Add tests using a HTML frontend (you can style the frontend using your own CSS)
-
Test Runners:
- Run your tests on different platforms: desktop, emulated mobile and Android.
-
Search Functionality:
- Easily find the results of your tests.

- Easily find the results of your tests.
Follow these steps to quickly set up and run the online version of sitespeed.io on your local Linux or Mac OS machine. Make sure you have Docker and docker compose installed. The default Docker compose setup use the same Docker network and have only the ports open that is needed.
-
Clone the repository:
git clone https://github.com/sitespeedio/onlinetest.git
-
Navigate to the project directory:
cd onlinetest -
Copy the example environment file:
cp .env.example .env
-
Start the Docker containers (Redis/PostgreSQL/MinIO/sitespeed.io server and testrunner) on the same server:
docker compose -f docker-compose.dependencies.yml -f docker-compose.server.yml -f docker-compose.testrunner.yml up
Now you can open your web browser and navigate to http://127.0.0.1:3000 to run your first test.
If you are on Linux you need to run sudo modprobe ifb numifbs=1 to be able to set different connectivities inside of Docker. On Mac you can only run native connectivity when you run inside of Docker.
To deploy on a server you should check the production setup.
You can use your existing sitespeed.io installation to add tests to the server via the command line. This is useful for integrating with CI/CD pipelines or scripting test runs.
# Run a desktop test
sitespeed.io --api.hostname http://127.0.0.1:3000 --api.location default --api.testType desktop https://www.sitespeed.io

# Run with Firefox and 5 iterations
sitespeed.io --api.hostname http://127.0.0.1:3000 --api.location default --api.testType desktop -b firefox -n 5 https://www.sitespeed.io

# Emulated mobile test
sitespeed.io --api.hostname http://127.0.0.1:3000 --api.location default --api.testType emulatedMobile https://www.sitespeed.io

# Add a label to identify your test
sitespeed.io --api.hostname http://127.0.0.1:3000 --api.location default --api.testType desktop --api.label "Before release" https://www.sitespeed.io

# With an API key (when the server has api.key configured)
sitespeed.io --api.hostname http://127.0.0.1:3000 --api.location default --api.testType desktop --api.key YOUR_SECRET_KEY https://www.sitespeed.io

# Set priority (1 = highest, default is 10)
sitespeed.io --api.hostname http://127.0.0.1:3000 --api.location default --api.testType desktop --api.priority 1 https://www.sitespeed.io
The required parameters are:
--api.hostname— the URL of your server--api.location— the testrunner location name (e.g.default)--api.testType— one ofdesktop,emulatedMobile, orandroid
You can pass any normal sitespeed.io flags (like -b, -n, --slug, --browsertime.*, etc.) and they will be forwarded to the test runner.
The server exposes a REST API that the CLI uses under the hood. You can also call it directly:
| Method | Endpoint | Description |
|---|---|---|
| GET | /api/ |
API version info |
| GET | /api/testRunners |
List available test runners and their configurations |
| GET | /api/status/:testId |
Get test status (waiting, active, completed, or failed) |
| GET | /api/har/:testId |
Get the HAR file for a completed test |
| POST | /api/add |
Add a new test (used by the sitespeed.io CLI) |
The .env.example has the configuration that you usually need to change/configure between different environments. If you use the .env file, it will automatically be picked up.
You can configure everything that you are used to configure with sitespeed.io + more. The server and the testrunner takes --config /path/to/file. Default server configuration and testrunner configuration.
There's a regular expression that validates the domain of the URL that you want to test. You can use this to make sure a public instance only can tests pages on your web sites.
VALID_TEST_DOMAINS=".*"
By default latest major release of sitespeed.io is configured, it looks like this in the .env file:
SITESPEED_IO_CONTAINER="sitespeedio/sitespeed.io:39"
When 40 is released you just switch to:
SITESPEED_IO_CONTAINER="sitespeedio/sitespeed.io:40"
To get latest version of 39 you need to periodically pull down the version:
docker pull sitespeedio/sitespeed.io:39
If you want to run a specific version, you can pin the version to a specific version:
SITESPEED_IO_CONTAINER="sitespeedio/sitespeed.io:39.0.0"
Running on your own machine the result is served from localhost. If you deploy on a server you want to change that:
RESULT_BASE_URL="http://127.0.0.1:9000/sitespeedio"
By default the result is served by MinIO on port 9000. If you serve the result on the URL https://sitespeed.domain.com you change your result base to: RESULT_BASE_URL="https://sitespeed.domain.com/sitespeedio"
You can configure which version of the server and the testrunner you want to use. You can either use latest stable version or specify a specific tag. In the .env file you configure which Docker tag to use.
SITESPEED_IO_SERVER_VERSION=2
SITESPEED_IO_TESTRUNNER_VERSION=2
You can and should require an API key for all tests submitted via the CLI/API. In your server configuration file add:
api:
  key: YOUR_SECRET_KEY
Then pass the key when adding tests: --api.key YOUR_SECRET_KEY.
The GUI is available in multiple languages. Set the locale in your .env file:
LOCALIZATION_LOCALE=en
Available locales: ar, bn, de, en, es, fr, hi, pt, ru, ur, zh-CN.
You can customize the look and feel of the GUI and enable/disable features in the server configuration:
- Custom CSS — override the default styles with your own CSS file
- Custom logo — replace the default logo
- Disable GUI — set
disableGUI: trueto run in API-only mode - Disable search — set
disableSearchGUI: true - Basic auth — protect the GUI with a login/password
- Lighthouse — enable the Lighthouse integration with
html.useLighthouse: true- also need the +1 container
See the full documentation for details on each option.
The admin panel is available at /admin/ and lets you view queue sizes and empty queues. It is protected by its own basic auth, configured in .env:
ADMIN_BASICAUTH_LOGIN=admin
ADMIN_BASICAUTH_PASSWORD=CHANGE_ME_ADMIN_PASSWORD
You can run test runners on different machines, each with a unique location.name in the testrunner configuration. The server automatically aggregates all connected runners and shows their locations in the GUI. This is useful for testing from different geographic locations or on different device types (desktop, mobile, Android). See PRODUCTION.md for multi-server setup details.
If you want to run the server and testrunner directly with Node.js (useful for development), you run the dependencies in Docker and the server/testrunner on your host.
-
Copy the local development environment file:
cp .env.example.local .env
This file uses
POSTGRESQL_SERVER(notPOSTGRESQL_HOST) which is the correct variable name when running the server outside Docker. It also points all service hosts to127.0.0.1. -
Start the dependencies with exposed ports:
docker compose -f docker-compose.dependencies.yml -f standalone/docker-compose.dependencies.standalone.yml up -d
-
Install and start the server:
npm install --prefix server
npm start --prefix server
-
In another terminal, install and start the testrunner:
npm install --prefix testrunner
npm start --prefix testrunner
You can also supply your own configuration files:
npm start --prefix testrunner -- --config path/to/testrunnerfile
npm start --prefix server -- --config path/to/fileThe setup is split into three compose files (docker-compose.dependencies.yml, docker-compose.server.yml, docker-compose.testrunner.yml). You need:
-
A Message broker: - A Redis-like data storage/message broker. The default setup uses Redis and has also been tested with Valkey.
-
A Database: - PostgreSQL - the open source database.
-
A Test Result Storage: - Somewhere to store test results. The default setup uses MinIO, an open source implementation of S3 but you can use all the result storages that work with sitespeed.io: S3, Google Cloud Storage or your own storage where you can scp the result.
Additionally, there's a server and one or multiple test runners that run the sitespeed.io tests.
For production deployments (with HTTPS, multi-server setups, and more), see PRODUCTION.md.
Running servers and testing costs money and you can help support sitespeed.io at Open Collective.