Final Project in RC autonomous car
Autonomous vehicles are automobiles that can move without any intervention by detecting the road, traffic flow and surrounding objects with the help of the control system they have. These vehicles can detect objects around them by using technologies and techniques such as RADAR, GPS, Odometry, Computer Vision. The autopilot drive of autonomous vehicles starts briefly with the ultrasonic sensors on its wheels, detecting the positions of vehicles that are braking or parked, and data from a wide range of sensors(Cameras , GPS etc..) are analysed with a central computer system and events such as steering control, braking and acceleration are performed.
We are aiming to add emergency vehicle priority awareness feature to autonomous cars. In our project, we plan to use Artificial Intelligence, Machine Learning, Image Processing methods and test the results in simulation environment. The Autonomous Vehicle Drive Simulator that we will use need to provide us to simulate sensors.

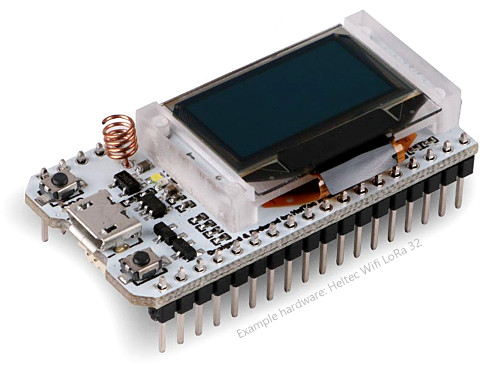
- ESP32
In this section we will cover all informations that we should know about ESP32.
- Arduino IDE
Code we to calibirate the RC car in Arduino we will see in this section how we used servo motors with RC speed controller.
- Android Studio
The code of to detect lanes and street signs with TF lite models and OpenCV
- OpenCv Library
We will use OpenCV for image proccessing and to detect the lines with Hough transform.
- YoloV5 / RCNN / Mobile Net v2.
Training YoloV5 on customized dataset to detect street signs and converting the weights to TensorFlow lite in order to use in Android Studio.
- Deep Sort / Kalman filter for tracking purpose.
ESP32 is a low-cost, low-power Microcontroller with an integrated Wi-Fi and Bluetooth. It is the successor to the ESP8266 which is also a low-cost Wi- >Fi microchip albeit with limited vastly limited functionality.
Useful link to start learning on ESP32 with Heltec
https://heltec-automation-docs.readthedocs.io/en/latest/esp32/quick_start.html
We recommend using the Arduino library manager, it's the simplest way
Open Arduino IDE, then Select Sketch->Include Library->Manage Libraries...
Search Heltec ESP32 and install it.
Firstly, make sure git and the Arduino IDE have been installed first. If not, please refer How to install Git and Arduino. When Arduino is installed correctly, you will find a folder in "Username/Documents/Arduino/Library". this library must in this path!
Open "Git bash" in path Username/Documents/Arduino/Library, and input:
git clone https://github.com/HelTecAutomation/Heltec_ESP32.git
You will see such a new folder in your library path, install done.
This library requires the Heltec ESP32 develop framework!
A detailed step by step instructions to execute some examples available here:
https://heltec-automation-docs.readthedocs.io/en/latest/esp32/quick_start.html#example
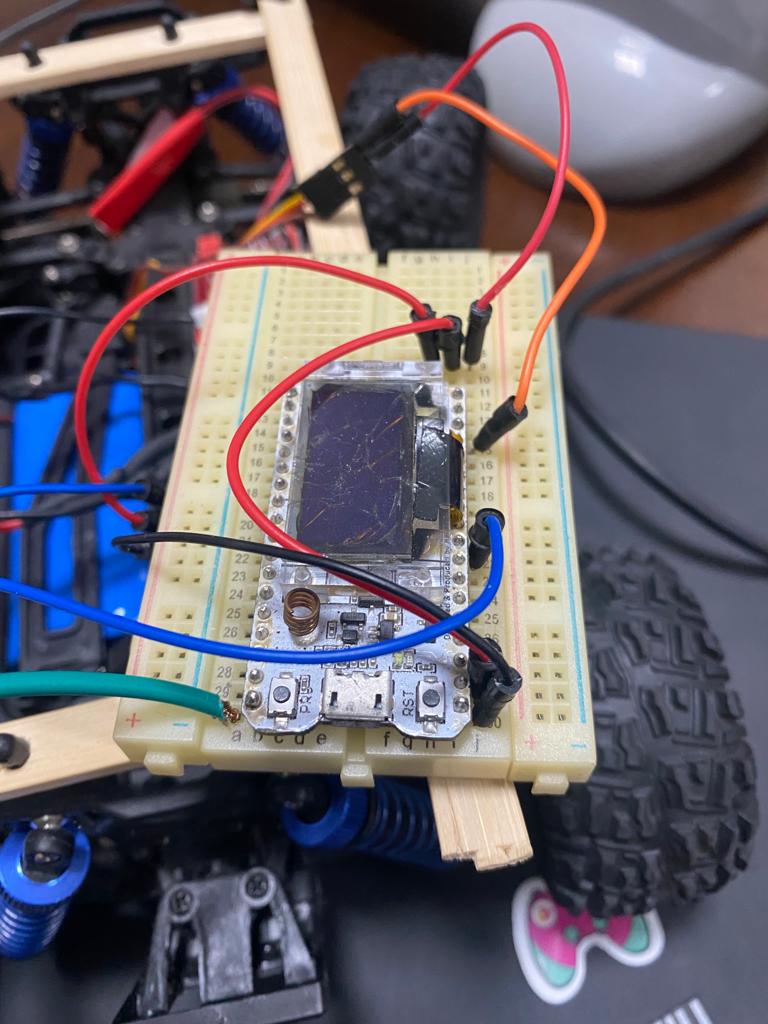
First of all you need to install the Arduino IDE to upload your code on ESP32 Board, what we did so far that we calibriated the ESP32 to recieve a Bluetooth Serial to and to parse it in order to navigate the vehicle lets check the code, this code is used to calibarte the ESP32 to navigate the vehicle PSB : We can see the first trial to when the RC car is not calibirated
*In Order to use this code please install few libraries to work on Heltec boards, due too differnet architeture *
Open "Git bash" in path Username/Documents/Arduino/Library, and input:
git clone https://github.com/maxpowel/ESC
git clone https://github.com/jkb-git/ESP32Servo
You will see such a new folder in your library path, install done.
You need to upload this code to ESP32 board in order to calibirate the RC CAR
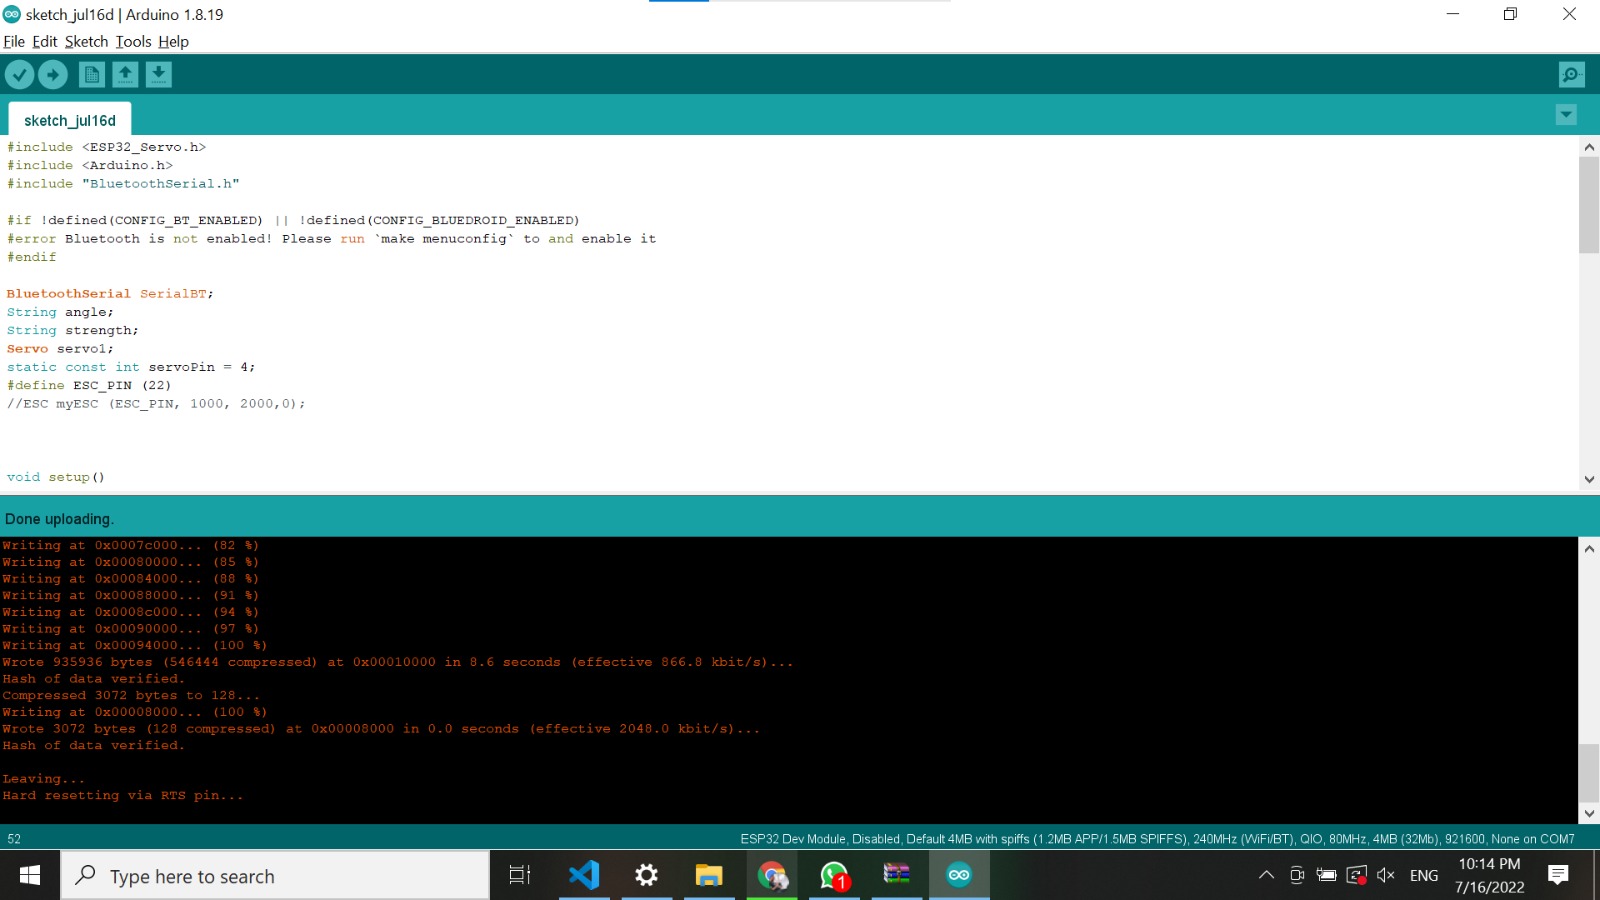
#include <Arduino.h>
#include "ESC.h"
#include "BluetoothSerial.h"


#if !defined(CONFIG_BT_ENABLED) || !defined(CONFIG_BLUEDROID_ENABLED)
#error Bluetooth is not enabled! Please run `make menuconfig` to and enable it
#endif

BluetoothSerial SerialBT;
String angle;
String strength;
Servo servo1;
static const int servoPin = 4;
#define ESC_PIN (22)
ESC myESC (ESC_PIN, 1000, 2000,0);

// the bluetooth serial will contain (000,000,0) the first 3 bytes for the angle and the second 3 bytes for the strength and the last byte for buttons
void setup() {
  SerialBT.begin();
  servo1.attach(servoPin);
  servo1.write(0);
}
//

void setup()
{
  pinMode(ESC_PIN, OUTPUT);
  servo1.attach(servoPin);
  Serial.begin(115200);
  SerialBT.begin("ESP32test"); //Bluetooth device name
  Serial.println("The device started, now you can pair it with bluetooth!");
  myESC.calib();                  // Calibration of the Max and Min value the ESC is expecting
  myESC.stop();
}

void reciving ()
{
  String value = SerialBT.readStringUntil('#');
if(value.length()==7)
    {
         angle = value.substring(0, 3);
         strength = value.substring(3, 6);
        String button = value.substring(6, 8);
        // Serial.print("angle: ");Serial.print(angle);Serial.print('\t');
        // Serial.print("strength: ");Serial.print(strength);Serial.print('\t');
        // Serial.print("button: ");Serial.print(button);Serial.println("");
        Serial.flush();
        value="";
        // int data[] = {angle.toInt(), strength.toInt()};
    }
}

void loop()
{

reciving();
int val[2] = {angle.toInt() ,strength.toInt()};
// val[0] =  val[0] - 180 ;
val[0] = constrain(val[0], 0, 180);
Serial.println(String(val[0]) + " ," + String( val[1]));
// int trangle = map(val[0], 0, 359, 0, 180);
int trstrength = map(val[1], 0, 99, 1000, 1350);
Serial.println("Angle : "+ String(trangle) + " ," + "Strength: " + String( trstrength));
myESC.speed(trstrength);
// servo will update left and right angles

servo1.write(trangle);
// reset all values
trangle = 0;
trstrength = 0;
delay(100);
}
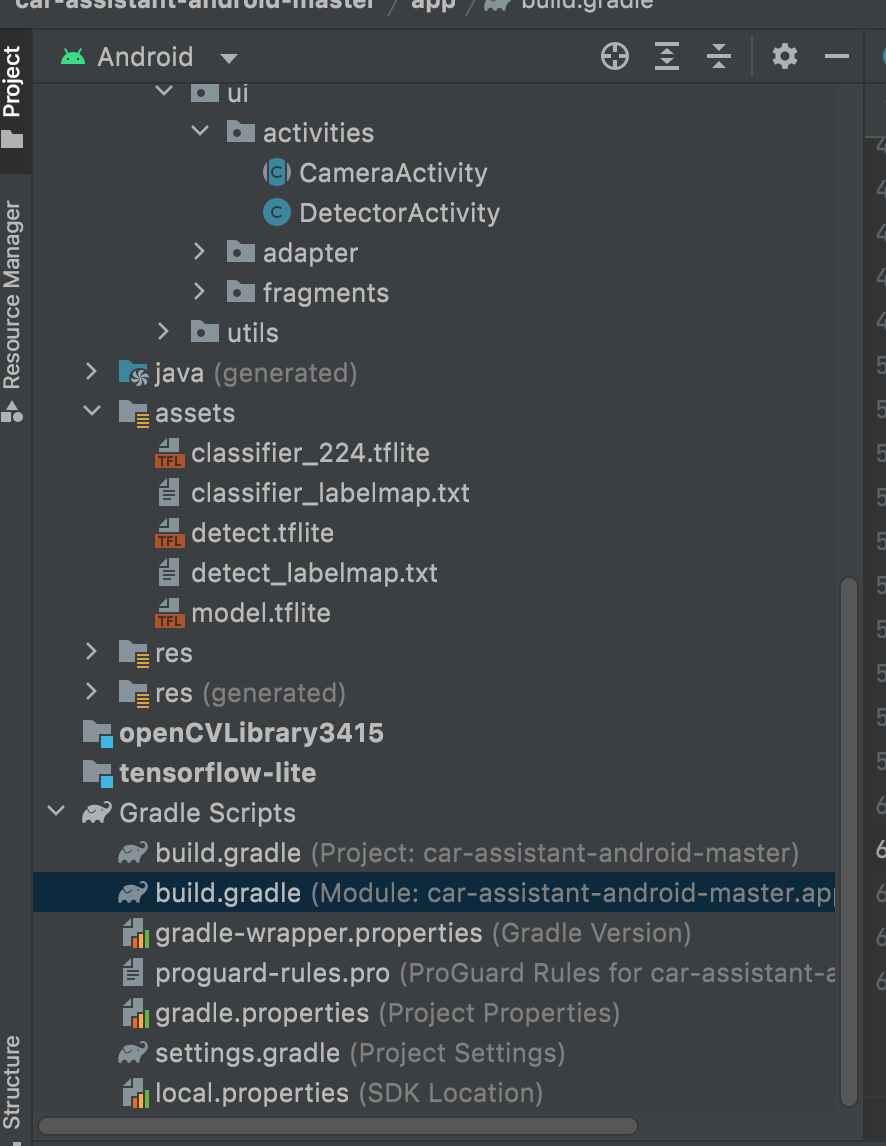
We decided to use Android studio to implement our application in order to detect the objects and the street signs, it was very hard to combine both of them, due to lack of resources repos on github, and usually the code is implemented in Python not in java.: PSB the result that we achieved using OpenCV and TensorFlow Lite model
Signs_video.mp4
Lane.Detection.mp4
*We used OpenCV Library 3415 version to in order to process the images and to apply the Hough transform for lines detection * In this link you can download any opencv sdk library to integrate it with your android studio IDE : Android Studio OpenCV library Download
- Hough transform and Hough lines .
- Angle steering and calculation of the path.
In this section we trained YOLOV5 on customized dataset in order to detect street signs, we used google colab due to availability to the free GPU : PSB and visit YOLOV5 open source on Github YOLOV5 GITHUB LINK : This tutorial is based on the YOLOv5 repository by Ultralytics. This notebook shows training on your own custom objects. Many thanks to Ultralytics for putting this repository together - we hope that in combination with clean data management tools at Roboflow, this technologoy will become easily accessible to any developer wishing to use computer vision in their projects. How to train YOLOV5 on customized dataset
In this section weights to TF lite weights in order to use in Andorid studio Convert YOLOV5 PyTorch weights to TF lite