⚠️ This repository is INACTIVE!!! The new repo is here
![]()
a general purpose fedora-based distro
![]()
WIP section
TyrianOS is based on the following image:
- Fedora:
ghcr.io/ublue-os/kinoite-main:42
It uses KDE Plasma as desktop environment and is meant for general use.
- Uses the ublue build system
- TyrianOS is based on the universal-blue image of Fedora Kinoite.
- Includes Fyra Labs' Terra repo
- Terra is a repository that is built on the Andaman toolchain, which simplifies the process of maintaining packages. Packages on Terra are automatically updated as soon as there's a new upstream release on a 30 minute interval. Packages on Terra are built by a team of maintainers with experience, ensuring the maintenance of a high quality of packages.
- Customised KDE installation
- TyrianOS comes with a customised version of KDE, mostly with elements from the Monochrome-KDE theme
More things are announced to come to TyrianOS soon.
On real hardware:
- Grab the latest ISO under artifacts from the latest successful job of workflow Build ISOs
- Flash it on a USB or any other bootable media
- Boot into the media and follow the steps of the installer.
In a virtual machine:
- Grab the latest ISO under artifacts from the latest successful job of workflow Build ISOs
- In the settings of the hypervisor, add the downloaded ISO as CD or generally media, and configure the image to be at the highest boot priority in the virtual machine's settings
- Boot into the image and follow the steps of the installer.
Working knowledge in the following topics:
- Containers
- bootc
- Fedora Silverblue (and other Fedora Atomic variants)
- Github Workflows
Select Use this Template and create a new repository from it. To enable the workflows, you may need to go the Actions tab of the new repository and click to enable workflows.
This file defines the operations used to customize the selected image. It contains examples of possible modifications, including how to:
- change the upstream from which the custom image is derived
- add additional RPM packages
- add binaries as a layer from other images
This template provides an out of the box workflow for getting an ISO image for your custom OCI image which can be used to directly install onto your machines.
This template provides a way to upload the ISO that is generated from the workflow to a S3 bucket or it will be available as an artifact from the job. To upload to S3 we use a tool called rclone which is able to use many S3 providers. For more details on how to configure this see the details below.
This Justfile contains various commands and configurations for building and managing container images and virtual machine images using Podman and other utilities.
repo_organization: The GitHub repository owner (default: "yourname").image_name: The name of the image (default: "yourimage").centos_version: The CentOS version (default: "stream10").fedora_version: The Fedora version (default: "41").default_tag: The default tag for the image (default: "latest").bib_image: The Bootc Image Builder (BIB) image (default: "quay.io/centos-bootc/bootc-image-builder:latest").
build-vm: Alias forbuild-qcow2.rebuild-vm: Alias forrebuild-qcow2.run-vm: Alias forrun-vm-qcow2.
Checks the syntax of all .just files and the Justfile.
Fixes the syntax of all .just files and the Justfile.
Cleans the repository by removing build artifacts.
Builds a container image using Podman.
just build $target_image $tag $dx $hwe $gdxArguments:
$target_image: The tag you want to apply to the image (default: aurora).$tag: The tag for the image (default: lts).$dx: Enable DX (default: "0").$hwe: Enable HWE (default: "0").$gdx: Enable GDX (default: "0").
Builds a QCOW2 virtual machine image.
just build-qcow2 $target_image $tagBuilds a RAW virtual machine image.
just build-raw $target_image $tagBuilds an ISO virtual machine image.
just build-iso $target_image $tagRebuilds a QCOW2 virtual machine image.
just rebuild-qcow2 $target_image $tagRebuilds a RAW virtual machine image.
just rebuild-raw $target_image $tagRebuilds an ISO virtual machine image.
just rebuild-iso $target_image $tagRuns a virtual machine from a QCOW2 image.
just run-vm-qcow2 $target_image $tagRuns a virtual machine from a RAW image.
just run-vm-raw $target_image $tagRuns a virtual machine from an ISO.
just run-vm-iso $target_image $tagRuns a virtual machine using systemd-vmspawn.
just spawn-vm rebuild="0" type="qcow2" ram="6G"Runs shell check on all Bash scripts.
Runs shfmt on all Bash scripts.
This workflow creates your custom OCI image and publishes it to the Github Container Registry (GHCR). By default, the image name will match the Github repository name.
This workflow creates an ISO from your OCI image by utilizing the bootc-image-builder to generate an ISO. In order to use this workflow you must complete the following steps:
- Modify
iso.tomlto point to your custom image before generating an ISO. - If you changed your image name from the default in
build.ymlthen in thebuild-iso.ymlfile edit theIMAGE_REGISTRYandDEFAULT_TAGenvironment variables with the correct values. If you did not make changes, skip this step. - Finally, if you want to upload your ISOs to S3 then you will need to add your S3 configuration to the repository's Action secrets. This can be found by going to your repository settings, under
Secrets and Variables->Actions. You will need to add the followingS3_PROVIDER- Must match one of the values from the supported listS3_BUCKET_NAME- Your unique bucket nameS3_ACCESS_KEY_ID- It is recommended that you make a separate key just for this workflowS3_SECRET_ACCESS_KEY- See above.S3_REGION- The region your bucket lives in. If you do not know then set this value toauto.S3_ENDPOINT- This value will be specific to the bucket as well.
Once the workflow is done, you'll find it either in your S3 bucket or as part of the summary under Artifacts after the workflow is completed.
Container signing is important for end-user security and is enabled on all Universal Blue images. It is recommended you set this up, and by default the image builds will fail if you don't.
This provides users a method of verifying the image.
-
Install the cosign CLI tool
-
Run inside your repo folder:
cosign generate-key-pair
- Do NOT put in a password when it asks you to, just press enter. The signing key will be used in GitHub Actions and will not work if it is encrypted.
Warning
Be careful to never accidentally commit cosign.key into your git repo.
-
Add the private key to GitHub
-
This can also be done manually. Go to your repository settings, under
Secrets and Variables->Actions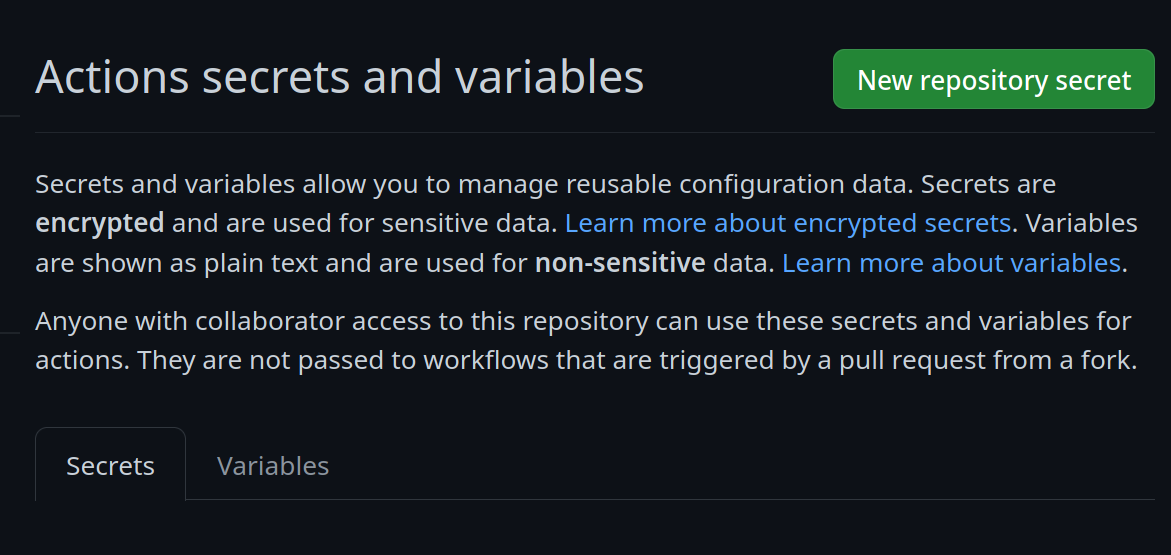 Add a new secret and name it
 SIGNING_SECRET, then paste the contents ofcosign.keyinto the secret and save it. Make sure it's the .key file and not the .pub file. Once done, it should look like this: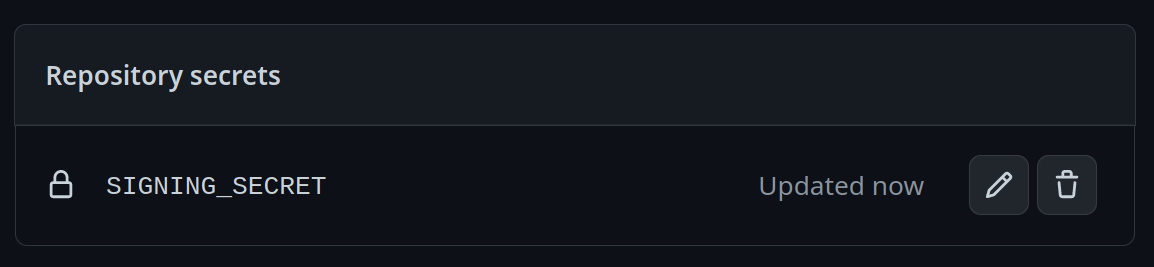
-
(CLI instructions) If you have the
github-cliinstalled, run:
gh secret set SIGNING_SECRET < cosign.key
-
-
Commit the
cosign.pubfile to the root of your git repository.
- bootc discussion forums - Nothing in this template is ublue specific, the upstream bootc project has a discussions forum where custom image builders can hang out and ask questions.
This template comes with the necessary tooling to index your image on artifacthub.io, use the artifacthub-repo.yml file at the root to verify yourself as the publisher. This is important to you for a few reasons:
- The value of artifacthub is it's one place for people to index their custom images, and since we depend on each other to learn, it helps grow the community.
- You get to see your pet project listed with the other cool projects in Cloud Native.
- Since the site puts your README front and center, it's a good way to learn how to write a good README, learn some marketing, finding your audience, etc.